Handmade Holiday Free Pattern Download - RockyNook
Cart 0

Free Embroidery Pattern Download from Handmade Holiday

Bells and Beads

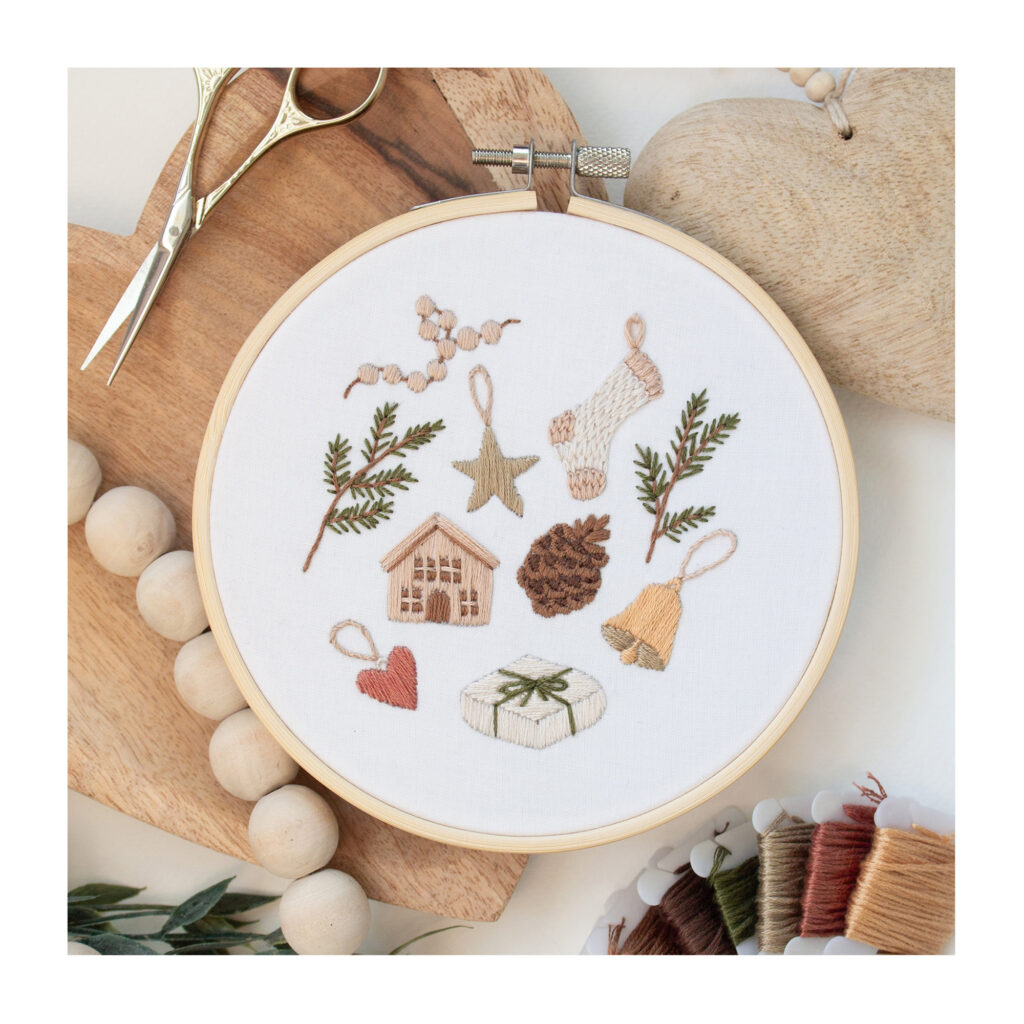
This pattern was inspired by the soft neutral colours and traditional elements of a Scandinavian Christmas mixed with a cozy cottage-core aesthetic. Featuring pine branches, brass bells, pastel ornaments, and pinecones, this pattern has all the cozy charms and simplicity of a quiet Christmas with your loved ones. Bells and Beads would be a great pattern to add to a cream linen apron or stocking to complement its simple and pretty motifs. It features a good deal of satin stitching, but it’s a lovely pattern to work on bit by bit during cozy winter evenings by the fireplace or Christmas tree. This pattern is 1 of 16 original embroidery patterns from the book, Handmade Holiday, by Aly Ploof @byalyploof

Use code HANDMADE25 to save 25% off Handmade Holiday (both print and ebook versions)

Download Pattern Here: Bells and Beads from Handmade Holiday
Pattern Instructions:

Materials

  • 7″ Square of Fabric (I used Kona cotton in the shade White)
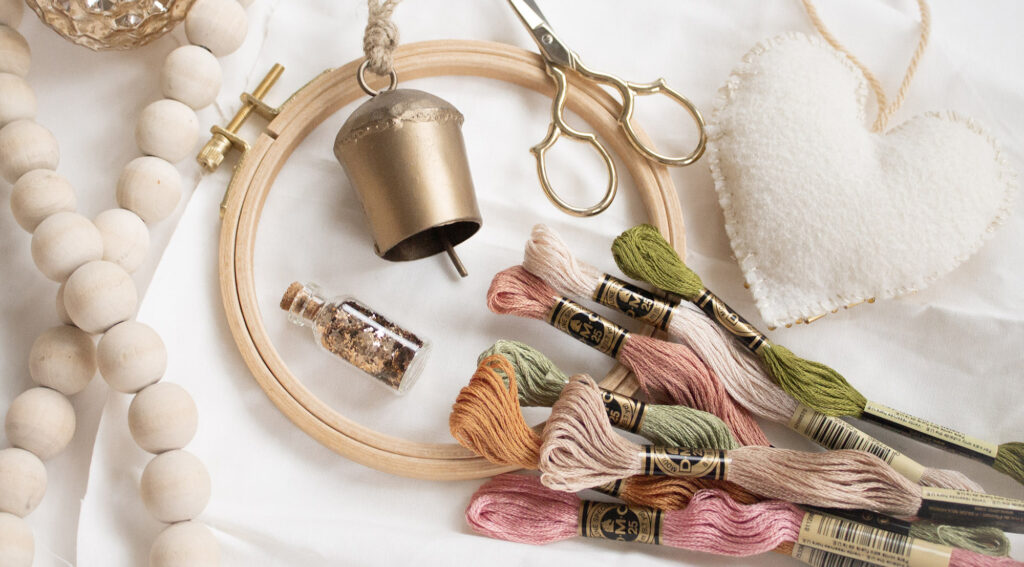
  • Embroidery Floss (see colour guide for suggested hues)
  • Embroidery Hoop (5″ or 13 cm)
  • Embroidery Snips/Scissors
  • Pattern Transferring Tools + Transfer Method of Choice
  • Size 5 Embroidery Needle

Colour Guide

  • DMC 3866, Mocha Brown – Ultra Very Light
  • DMC 842, Beige Brown
  • DMC 3862, Mocha Beige
  • DMC 839, Dark Beige Brown
  • DMC 3859, Rosewood – Light
  • DMC 3032, Mocha Brown – Medium
  • DMC 3051, Green Gray – Dark
  • DMC 437, Tan – Light

Stitch Guide

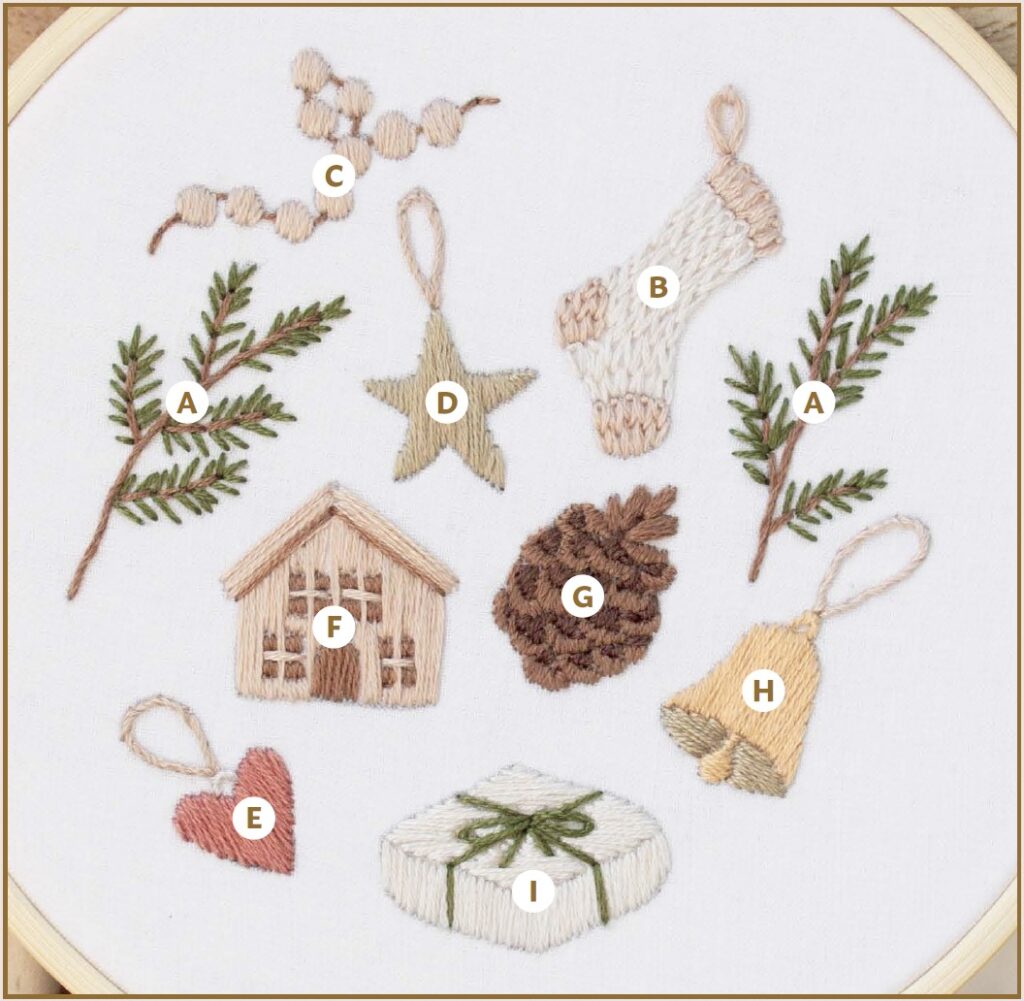
A 3862 and 3051, whipped back stitch, 3 strands (branches) and back stitch, 3 strands (pine needles)

B 3866 and 842, chain stitch, 3 strands and lazy daisy stitch, 3 strands

C 3862 and 842, satin stitch, 3 strands and back stitch, 3 strands

D 3032 and 842, satin stitch, 3 strands and whipped back stitch, 3 strands

E 3859, 3866, and 842, satin stitch, 3 strands and whipped back stitch, 3 strands

F 842 and 3862, satin stitch, 3 strands (house, door, and windows) and back stitch, 3 strands (roof shadow line)

G 3862 and 839, satin stitch, 3 strands

H 437, 3032, and 842, whipped back stitch, 3 strands and satin stitch, 3 strands

I 3866 and 3051, satin stitch, 3 strands; back stitch, 3 strands; lazy daisy stitch, 3 strands (bow on present)

Instructions

  1. Start the pattern by stitching the branches with three strands of the brown shade (3862) and a whipped back stitch, and three strands of the green shade (3051) with a back stitch for the pine needles (A).
  2. Next, stitch the “knitted” stocking. Start at the bottom-right corner of the stocking (above the tan curved tip) and work your way up from the center line, first with three strands of the cool white (3866). Continue stitching outward on either side from there, but don’t stitch the stocking outlines, as they will bulk up your stocking shape too much. Finish the remaining corners and top band with a six-stranded chain stitch and the brown shade (842). Don’t forget to finish the top loop with six strands of the same brown shade (842) and a lazy daisy stitch (B).
  3. Stitch the wooden beads with a three-stranded back stitch and the dark brown shade (3862) in addition to the satin-stitched beads with the lighter brown shade (842) (C).

    TIP for Stitching the Wooden Beads: just like stitching the satin circles in the Stitch Library, you’ll want to start with a stitch down the middle and work your way out on either side. You can also add additional stitches overtop to perfect your circular shape and give your beads a nice, raised texture.
  4. Next, stitch the star ornament details with a satin stitch and three strands of the green shade (3032) in addition to a whipped back stitch and the light brown shade (842) for the ornament’s looped twine (D).
  5. From here you can use the same method to stitch the heart ornament! You’ll use three strands of the pastel red shade (3859) to satin stitch the heart and three strands of the cool white (3866) with a three-stranded whipped back stitch for the heart’s connecting loop. Use three strands of the light brown shade (842) with a whipped back stitch for the ornament’s looped twine (E).
  6. Next, stitch the little wooden cabin by using three strands of the brown shade (842) to satin stitch the house around the windows and door. This will be easiest to do by starting with a satin stitch down the middle and working your way out on either side. Follow the grey directional lines of the house and do your best to run your stitches right up to the window outlines and straight down through the gaps around them. Finish off the house by filling in the windows and doors with the dark brown (3862) with a three-stranded satin stitch, in addition to running a three-stranded back stitch under the roof lines to define it (F).

    TIP for Stitching the Cabin: Start by satin stitching the base cabin and use the satin-stitched roof to cover the top edges of your satin-stitch. If your bottom stitches are uneven, you can run a single back-stitched line of the same medium brown shade (3862) to clean them up.
  7. Move over to the pinecone and fill it in with a satin stitch using the two brown shades (3862, 839) with a three-stranded satin stitch. Fill in the lighter brown (3862) curved cones with a satin stitch starting with a stitch down the middle, and then continuing out on either side. You may need to really shorten your stitches to get to the edges. Use the same three-stranded satin stitching method to fill in the shadows with the dark brown (839) (G).
  8. You’ll then satin stitch the bell ornament. Use three strands of the gold colour (437) to satin stitch the base of the bell with a stitch right down the middle and then working your way out on either side. Use the same method for stitching the top gold loop and small circle of the bell. Once you’ve done the gold parts, you can use the lighter green (3032) to fill in the inside of the bell, but this time with a horizontal satin stitch. Finish the ornament with the light brown (842) and a whipped back stitch for the ornament’s looped twine (H).
  9. To finish off the Bells and Beads pattern, stitch the wrapped present. Use three strands of the cool white (3866) and a three-stranded satin stitch to fill in the base of the present. Finish by using the dark green (3051) along with three-stranded back stitching and lazy daisy stitches for the present’s tied strings (I).

    TIP for Stitching the Present: Follow the grey directional lines to give the satin dimension and visible lines in between edges.