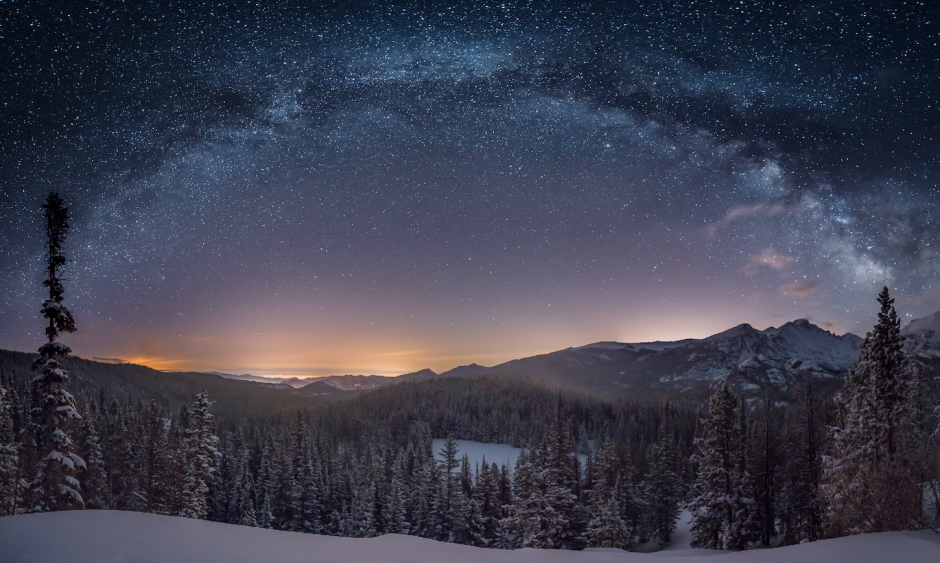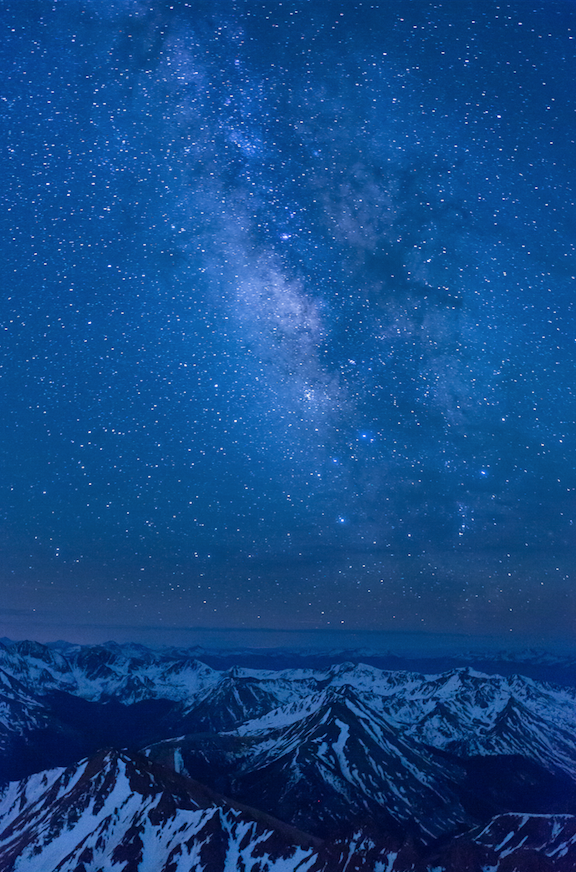
Today’s high-end DSLRs have made it possible to capture the night sky that were simply impossible in the film era. Film lacked the sensitivity to record the night sky as we see it, with apparently stationary stars. Exposures on even the fastest (most sensitive) film were usually so long that the stars made visible streaks as the earth rotated, rather than being rendered as points of light. True, some photographers used tracking devices to counteract the earth’s rotation, but these were specialized tools not widely used by most shooters. The sensors in today’s best DSLRs, by contrast, are so sensitive at their highest ISOs that photographers can capture the night sky using exposures short enough to record the stars as pinpricks of light. In short, we can now use readily available equipment to make photographs that capture some of that sense of wonder we all felt as children gazing up at the star-filled night sky.
Focusing and Composing at Night
Once you arrive at your chosen location, you face your next challenge: focusing at night. Auto-focus is useless; turn it off completely so you don’t accidentally trigger it. Nor can you simply set the lens to the infinity mark. That’s usually not sharp enough either. Most modern lenses rotate past the infinity mark to allow you to focus at infinity even in extremely hot or cold conditions, so you can’t just turn the lens barrel until it reaches its physical limit. Instead, point the camera toward a bright star, set the lens to infinity to get close to proper focus, engage live view, magnify the view to 10, and focus manually on the star. You may need to disable exposure simulation in your live-view menu to actually see a star. If you arrive at your shooting location before dark, use live view to focus on something at infinity during daylight hours. In either case, be sure to tape the lens to lock-in infinity focus, then check focus again by shooting a test frame. Include a bit of the skyline when testing at night. It’s often easier to check the sharpness of the skyline than the sharpness of a star.

Once you’re confident you’re focused at infinity, you can compose your shot. It’s easier to compose if you first let your eyes adapt to the dark. I use the red LEDs on my headlamp when working at night to preserve my night vision as much as possible. Even better is to use no light at all by learning how to find the appropriate buttons on your camera by touch. Composition is largely a matter of guess-and-check, since you probably won’t be able to see the Milky Way clearly through the viewfinder, although you may be able to distinguish horizon from sky. Level the camera left-to-right with a hotshoe level or your in-camera level (if you have one), point it in approximately the right direction, and shoot a test frame. Adjust as needed and try again.
A good starting-point exposure for the Milky Way on a moonless night is 30 seconds, f/2.8, ISO 6400. But here’s the catch: you need a 16mm lens on a full-frame camera to use such a long exposure without the stars forming streaks due to the rotation of the earth. The shorter the focal length, the longer the exposure you can use before the stars move noticeably. You can divide 500 by the focal length of your lens to determine the longest acceptable shutter speed. For example, if you’re using a 20mm lens, your longest non-streaking exposure according to the 500 rule would be 25 seconds.
This article was taken from The Art, Science and Craft of Great Landscape by Glenn Randall.
