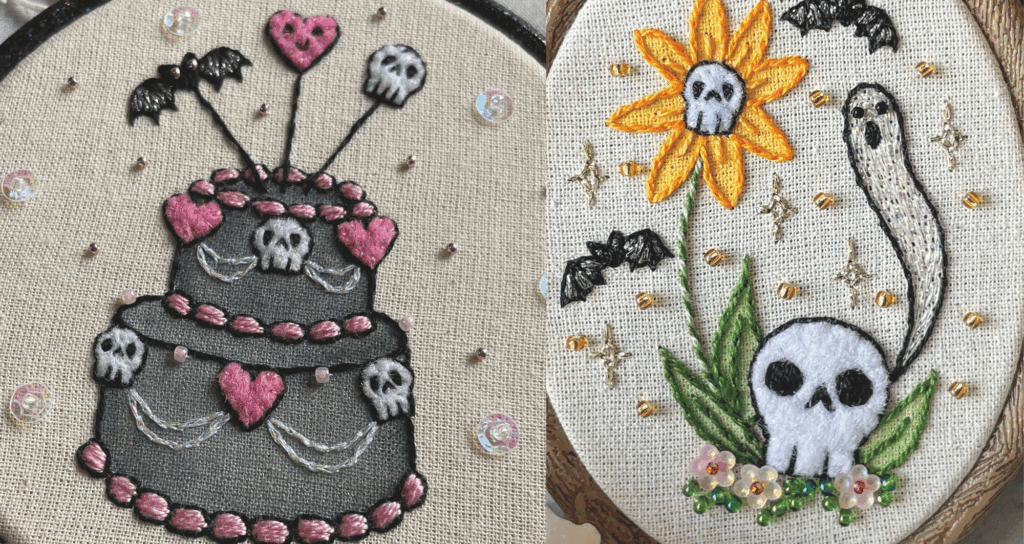

How to embroider a felt appliqué is an excerpt from the book Haunted Holiday Stitches, by Laura McElroy of @cat.and.magpie In it, Laura gives you a step-by-step guide to adding felt appliqués to your embroidery art. Felt appliqué is a great way to add texture and a fun addition to mix up your mediums in your embroidery project! To view more artist embroidery tips and techniques, check out Laura’s book Haunted Holiday Stitches today.
FROM THE AUTHOR:
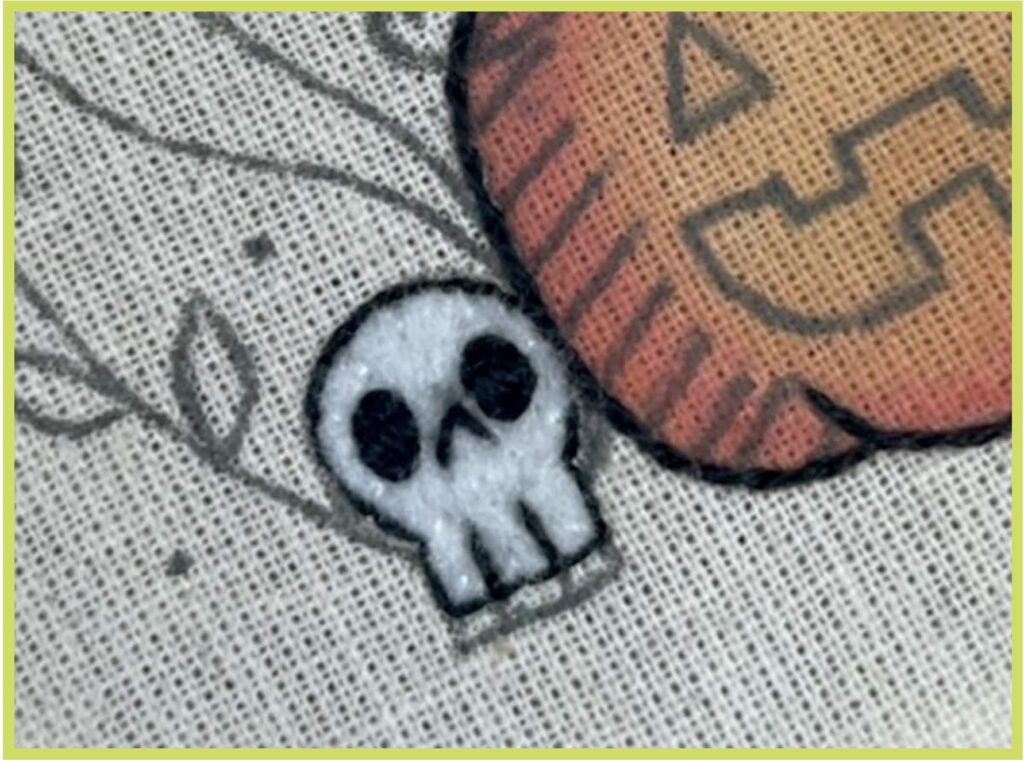
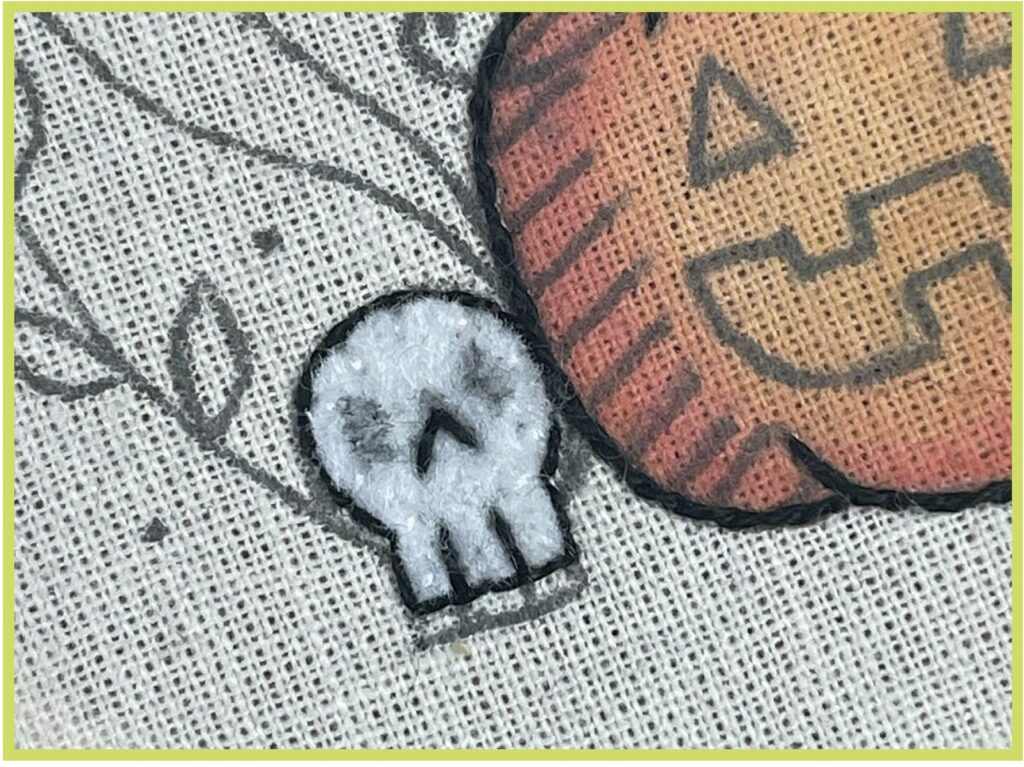
I use felt to add another textural element to my designs, and it’s a really simple yet effective stitch technique to learn. For the Spooky Stitch Sampler design, you’ll be stitching a little appliqué felt skull, using whip stitch to attach the felt to the fabric, and adding the skull detail with back stitch and a little bit of satin stitch for the skull eyes.

FELT APPLIQUÉ TIPS
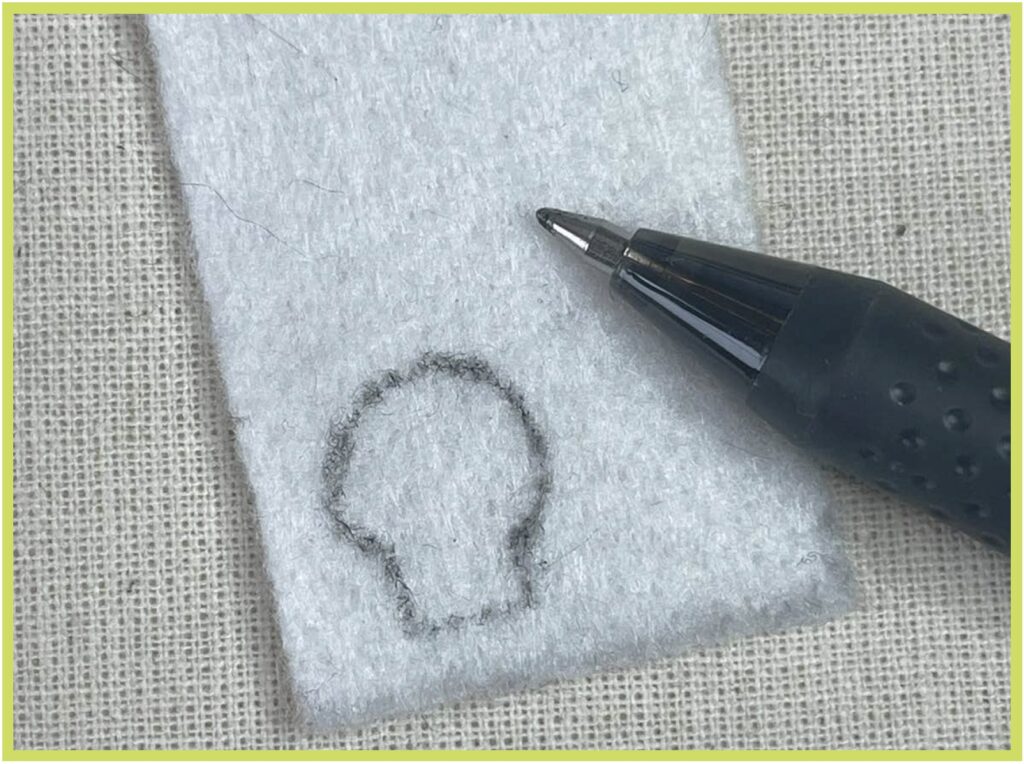
• To cut your piece of felt out in the right size and shape, you can trace the appliqué shape from the design pattern onto a piece of tracing paper and cut it out. Place this template on top of the felt, then draw around the template you’ve made and cut it out.
• You can also draw the appliqué shape by eye directly onto the fabric and trim it down to fit the design. Just make sure not to draw the shape too small!
• Use your small sewing scissors to cut out your felt shapes. Then use your Pilot FriXion pen to draw the shape onto the felt so you can erase any visible transfer lines that may be left on your work at the end.
• When you’re stitching the skull eyes using satin stitch, you can outline your satin stitch with some small back stitches to shape the eyes how you want.
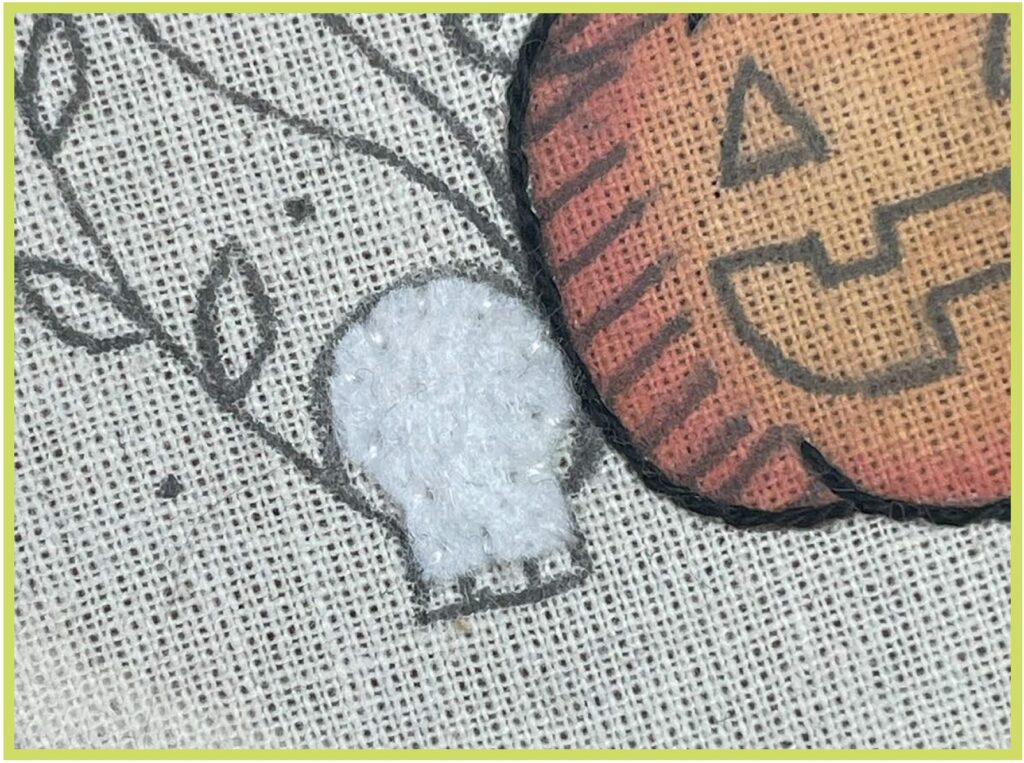
• The felt can sometimes look a little fuzzy around the edges once you’ve finished stitching. Carefully trim any excess felt fluff off using your sewing scissors.

HOW TO ADD A SKULL FELT APPLIQUÉ
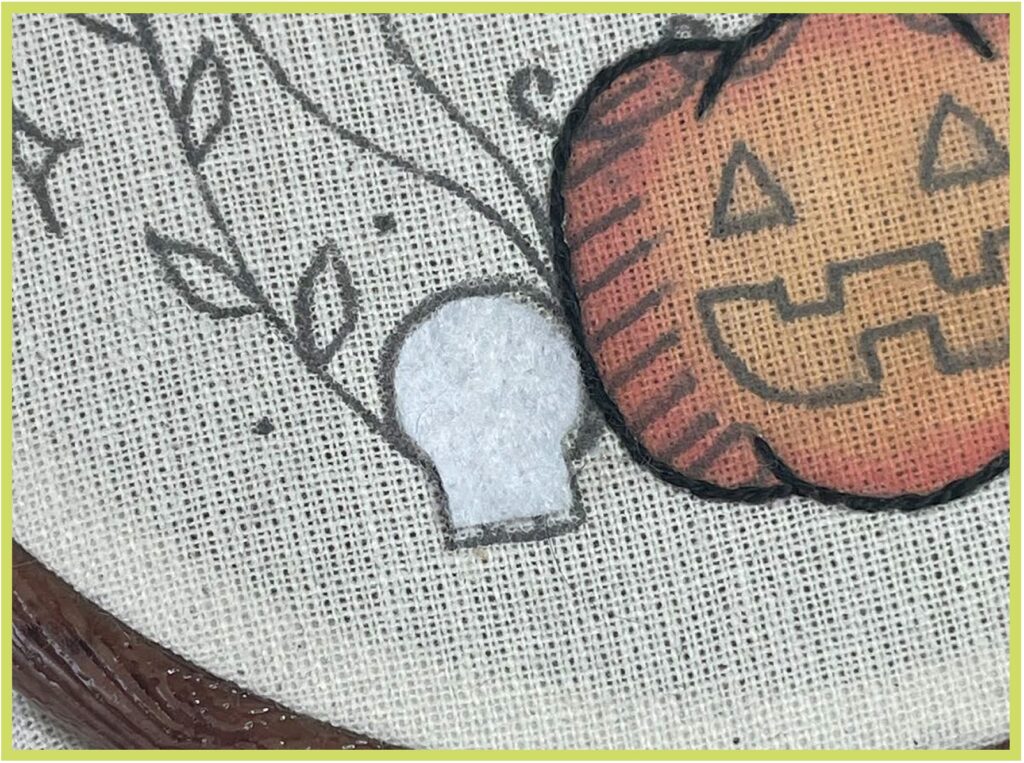
1. Trace your skull shape onto the felt, using a template or by eye, and cut out using your sewing scissors.
2. Place your felt skull onto your fabric where you want to attach it.
3. Tie a knot at the end of your thread and bring it up through the fabric with your embroidery needle at the edge of your felt skull.
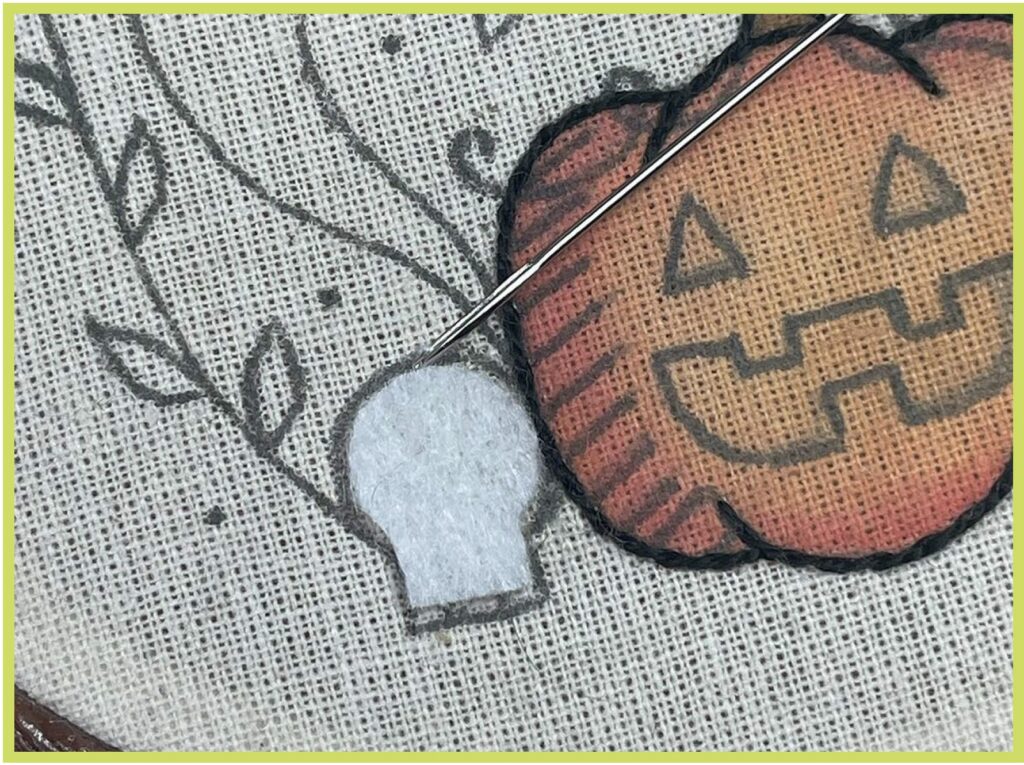
4. Send your needle and thread back down through the felt skull a couple of millimeters from the edge to create your first whip stitch.
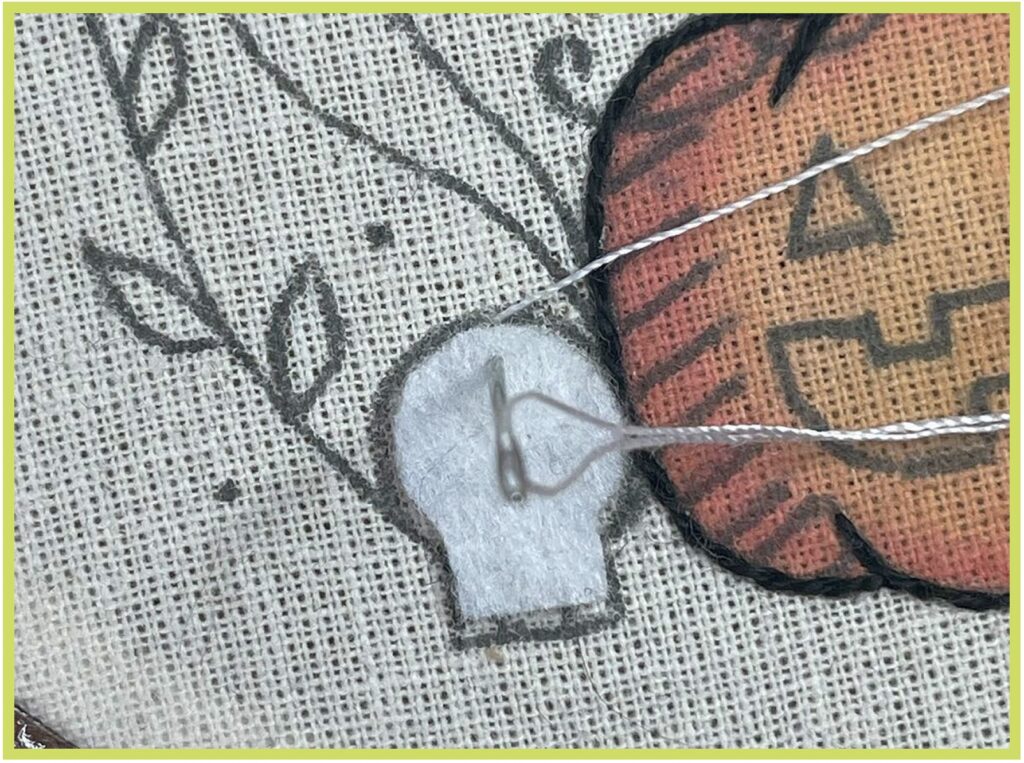
5. Bring your needle and thread back up through the fabric a few millimeters from where you first brought your needle through at the edge of your felt skull.
6. Repeat steps 4 and 5, following the edge of the felt skull until you reach your first stitch, then knot your thread securely at the back of your work.
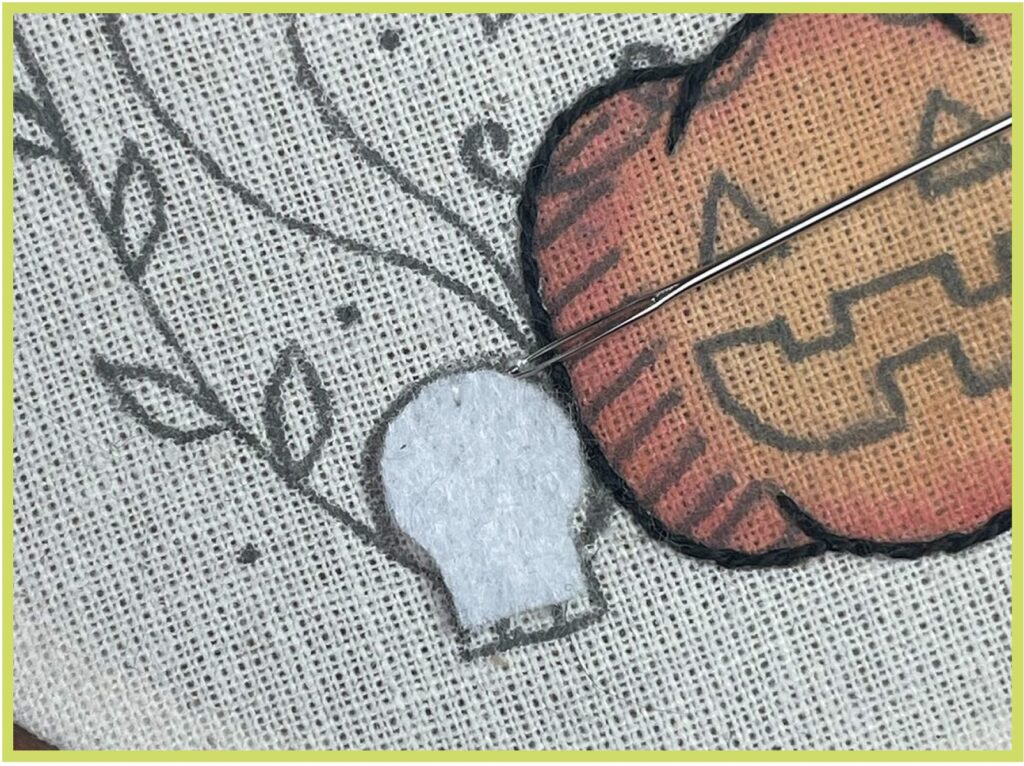
7. Using your FriXion pen, draw the skull features onto the felt.
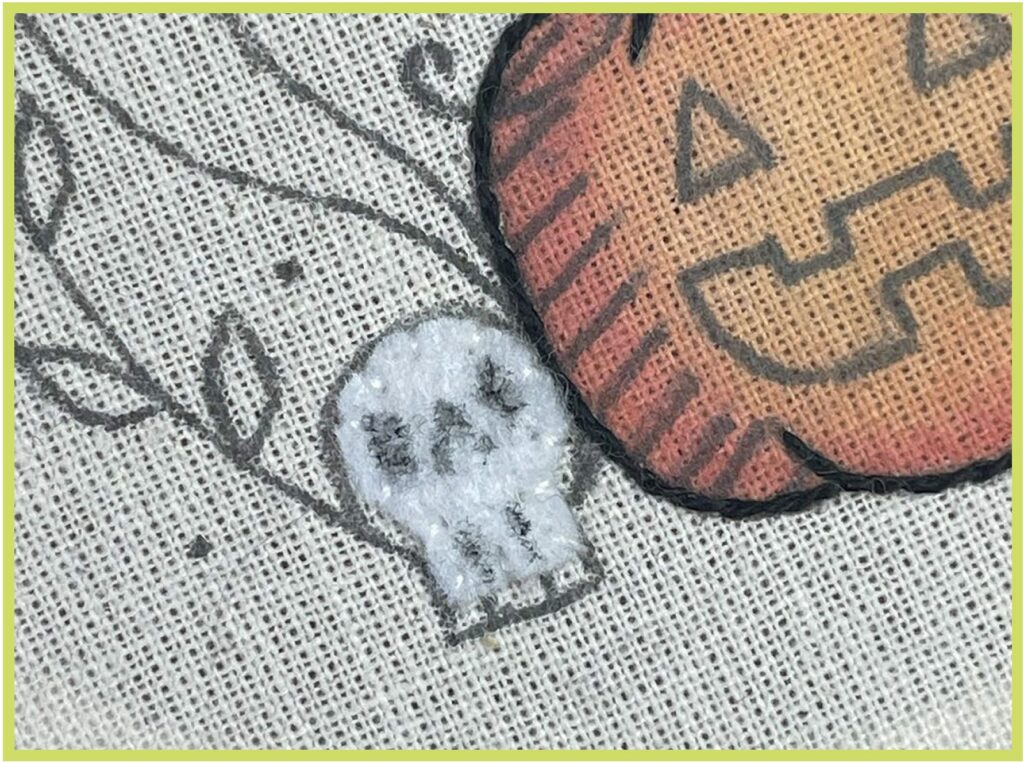
8. Tie a knot at the end of your thread and bring it up through the fabric with your embroidery needle at the edge of your felt skull.
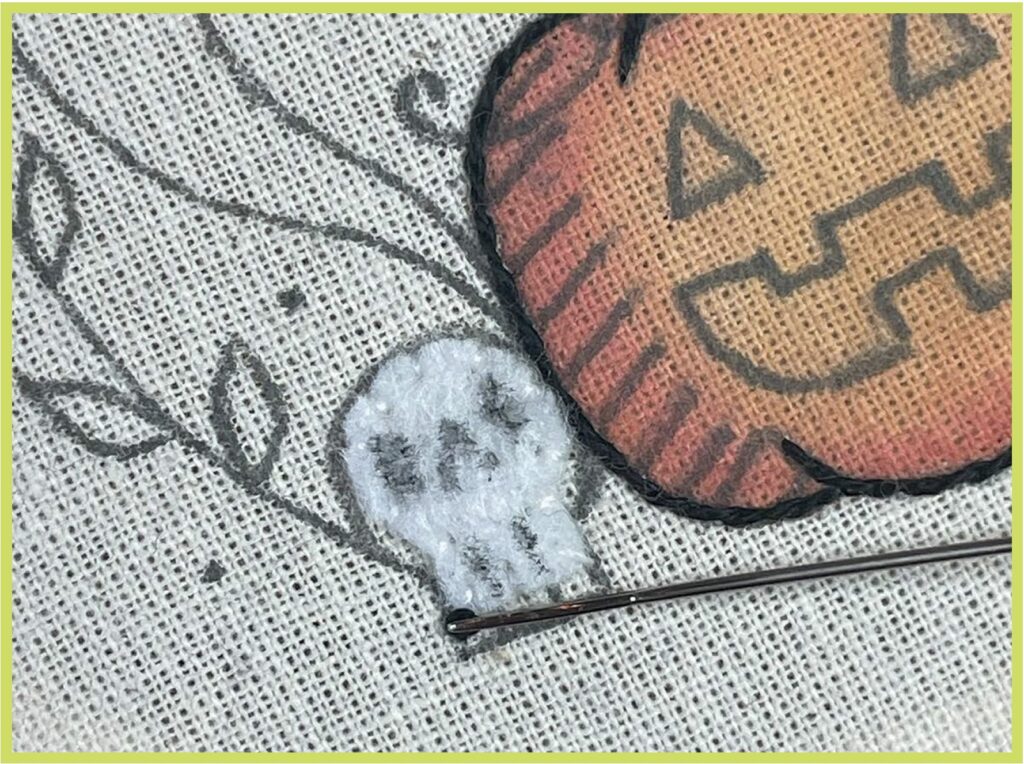
9. Stitch around the edge of your felt skull using back stitch.
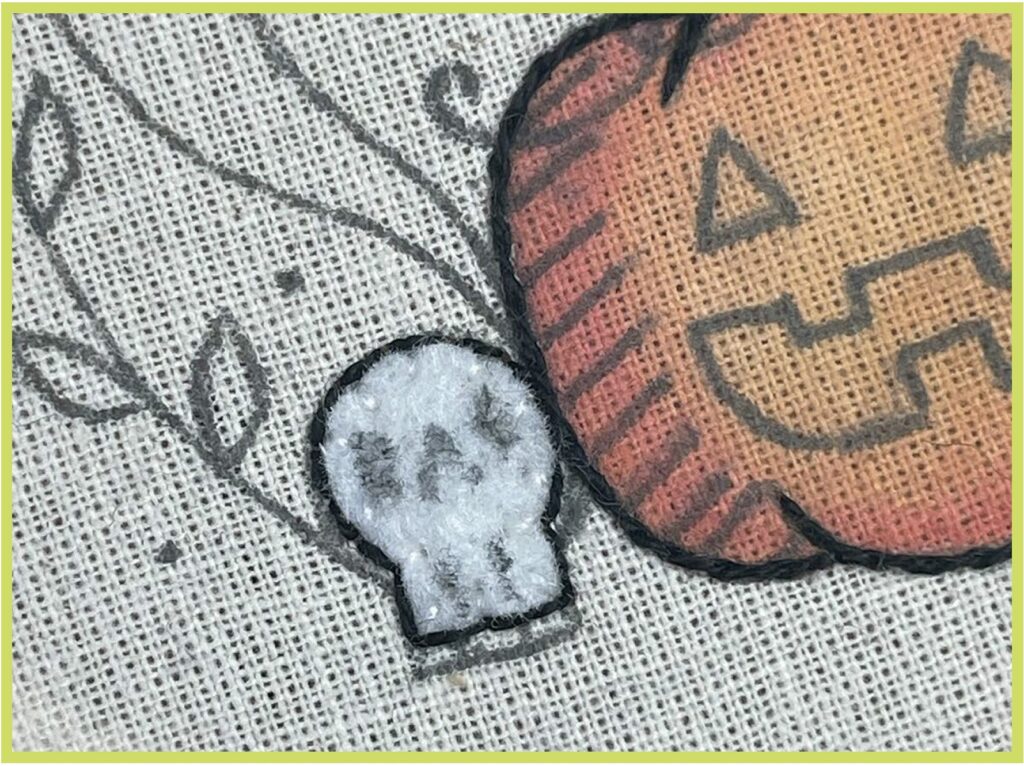
10. Continuing with the same piece of thread, make two small back stitches into the felt to create the skull teeth.
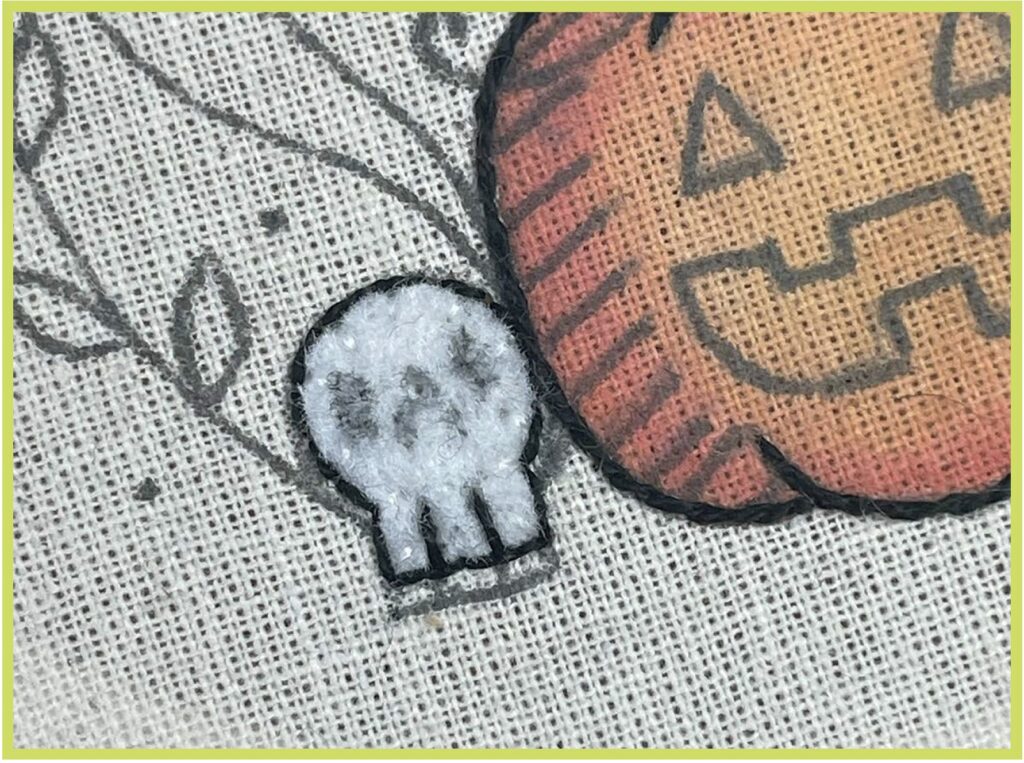
11. Make another two stitches in the felt to create the skull nose.
12. Use satin stitch method one to create the skull eyes, outlining them in back stitch too if you want, then knot your thread securely at the back of your work.