
The following excerpt is from LEGO with Dad by Warren Nash.
Building a Playground Swing
Specialty pieces needed:
- Long axle
- 2 bush pieces
- 2 1×2 bricks with 1 hole in
- 2 1×2 plate knob bricks
- Mini figure
- Flowers, wheelbarrow, other optional décor
My family loves going to our local park to spend as much time outdoors as possible on the swings and slides. It’s not much fun in the pouring rain or on cold winter days, however, which inspired my son and me to build an indoor playground with LEGO. This playground swing is a simple build that doesn’t require many bricks. It’s also the perfect starting point to build a full-blown playground. When you finish this build, put your imagination to work. From swings to roundabouts to seesaws, there are loads of moving things at the playground that you can build with LEGO.

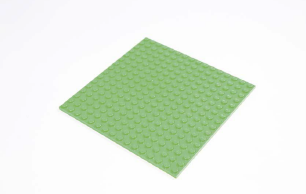
STEP 1: On a 16×16 baseplate, use 2×2 regular bricks that are 8 studs apart along the length, and 6 studs apart along the width, to build up the four pillars of your playground swing.


STEP 2: When you’ve made the swing 6 bricks high, begin using inverted roof tile bricks to bring the pillars together until they come to a point and meet in the middle.


STEP 3: Then use regular roof tile bricks on the outer side of the pillars to make them stronger and give a finished, sloping look.
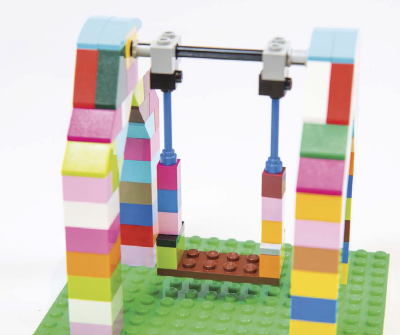
STEP 4: We now need to bridge the gap between the two sides of the swing: Attach a 1×2 brick with 1 hole in to the top of each side of the swing, and insert a long axle between them. On the axle, slide a couple of 1×2 bricks with 1 hole in onto the axle (you’ll later attach the swing seat to these), and slide on some bush pieces to keep the axle in place.

STEP 5: Next, attach some bricks around the axle section to secure it into place on each side of the swing. Here I use plate, roof tile and 1×4 “plate bow” bricks.
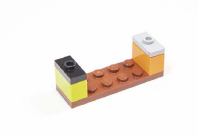

STEP 6: Now we’ll build the swing seat. Find a plate brick that’s big enough to fit a LEGO person on (I used a 2×6). On either short end, attach a 1×2 brick with a 1×2 plate knob brick on top.

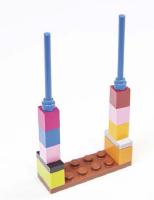
STEP 7: On top of the plate knob bricks, add a few layers of 1×1 bricks. On top of these, place an antenna piece to act as the swing chains.
STEP 8: On top of each antenna piece, slide on a 1×1 knob brick with 2 knobs, sideways
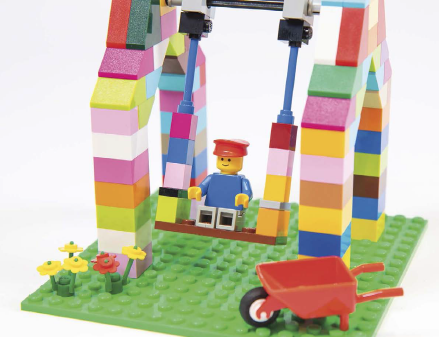
STEP 9: Attach the knob bricks to the underside of the 1×2 bricks with 1 hole in on the axle, so the seat swings freely. Finally, add any finer details around the swing and, of course, a little LEGO person on the seat to enjoy the swing!