Do textbooks and rules make sense in a photographic context? If you want to do arithmetic accurately, you have to stick to the rules. If you want to take great photos, you have to know the rules too, but you can ignore them if you want. Many photography textbooks aim to help us avoid making common mistakes and talk about the “right” composition, “correct” exposure and “ideal” shutter speeds. I think terms like “right” and “wrong” simply don’t apply when it comes to taking photos. Photography is a creative pursuit. Anyone involved in creating photographs for anything other than purely documentary purposes doesn’t need to enslave themselves to rules and should instead concentrate on packing their images with emotion. But don’t get me wrong—an unintentionally blurred image is substandard regardless of how creatively you shoot it. On the other hand, deliberate motion blur can be an effective stylistic device. Let’s take a look at some of the more generally accepted “rules” of photography.
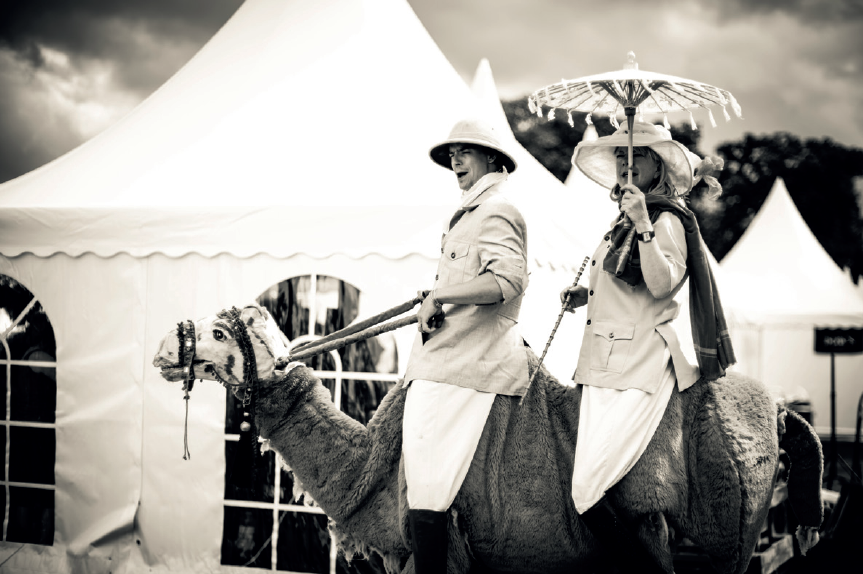
© Bertram Solcher
Image Composition
Your subject doesn’t have to be positioned in the center of the frame just because that’s where you focused or because it was the most obvious composition. On the other hand, positioning a portraitin the center of the frame can make the shot more interesting. Generally speaking, the subject can be positioned anywhere within the frame.
The rule of thirds is a compositional tool that is popular among photographers and painters. The idea is that you draw imaginary lines through the frame to divide it into nine identically sized areas (or thirds, vertically and horizontally) and then place the subject at an intersection of two of the lines. This is a simple way to create compositions that differentiate clearly between the foreground and the background. However, it is not a guaranteed recipe for great images and there are many photos that leave a positive impression on the viewer precisely because they weren’t composed using strict guidelines.
A sharp background subject can be framed by a blurred foreground, just as blur and depth-of-field effects are highly versatile tools for enhancing a composition. Nevertheless, images that are pin sharp from the near foreground all the way to infinity can be appealing, too if the overall composition is well thought out.
Horizons don’t have to be level but, if you do use a slanted horizon, make sure that it is part of the overall composition; otherwise, it will simply look like you were careless.
As you can see, composition alone gives you a vast range of options, and the best way to find out what works is to try out your own variations. But don’t make the mistake of trying to cram all of your ideas into a single story. Not every style suits every job. Remember: less is sometimes more.
Light
Generally speaking, light comes either from the sun (i.e., daylight) or from an artificial source. Both types have variable brightnesses (i.e., intensity) and temperatures (i.e., color).
Morning daylight has a blue hue, changing to white toward midday and to orange/red at sunset before it once again takes on a blue tone at dusk. The intensity of daylight varies during the day, too, and is brightest at midday. Clouds reduce the sun’s intensity, and shaded daylight tends toward blue. Fashion photographers often use the soft, warm look of early morning or late evening sunlight, which is a tip that you will find in a lot of books on photography.
However, if you know what you are doing, you can also use the cold, hard midday sun to produce excellent photos. This is another aspect of the image capture process that underscores the need to plan in advance the effect you want to produce.
In the realm of artificial light, neon light has a green shimmer while incandescent light bulbs produce an orange glow. Advertising billboards can bathe entire streets in color. The myriad options offered by different sources of light have their proponents and detractors and many textbooks advise you to simply cancel out the effects of artificial light by using artificial daylight (i.e., flash). I like the tension and authenticity that different light sources provide, although I sometimes use flash. I always try to consider the effect I want to achieve before I release the shutter, which often means I will try out several variants for a single shot. This takes us nicely on to our next subject…
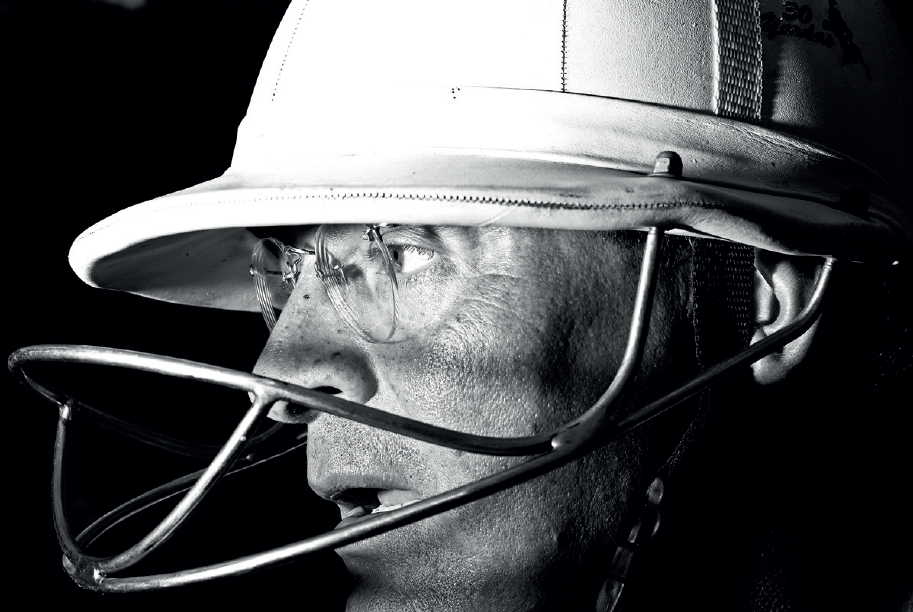
© Bertram Solcher
Exposure
Is there such a thing as “correct” exposure? You can use a handheld exposure meter to determine exposure parameters that, objectively speaking, will produce a correct exposure. The question here is whether using these values produces an interesting image. Images produced using standard criteria won’t upset the viewer, but they won’t win any prizes either. If, on the other hand, you decide to expose for highlight or shadow detail, you are sure to produce more engaging results. The selective metering capability built into many Leica models provides you with a great tool for doing just that.
Textbooks often recommend that you prevent unwanted camera shake by using the shortest possible shutter speed, and that you avoid potential focusing errors by stopping the aperture down. This advice is fine if you want to avoid taking risks, but if you do shoot this way, you don’t need a Leica with its excellent lenses. Go ahead and test your limits and those of your camera. Think about how a shot will turn out if you pan the camera during the exposure. Add motion blur or use the selective focus effects offered by wide apertures. Trying new things will mean that you produce more reject material, but that is to be expected. If you break with tradition, your work is sure to gain more attention.
Going into a lot of detail on flash is beyond the scope of this book, but there are still a couple of things I’d like to say on the subject. You can use flash as a main or fill-in light, and you can apply it directly or indirectly. The more direct the flash, the harder the light it produces, so mounting a flash on your camera’s accessory shoe and pointing it straight at the subject will produce stark-looking results. Thealternative is to bounce your flash off a wall, ceiling, or a reflector, which makes the light reaching the subject much softer. Both approaches can be used creatively.
If you want to use flash as a fill light, you need to meter exposure for the ambient light (whether you are shooting indoors or out) and then add a dab of flash to supplement it. If, on the other hand, you are using flash as your main light, you can meter for your subject and leave the background as underexposed as you like.
Reflectors are another simple tool for controlling the mood of the lighting in an image and are especially useful in portrait shots.
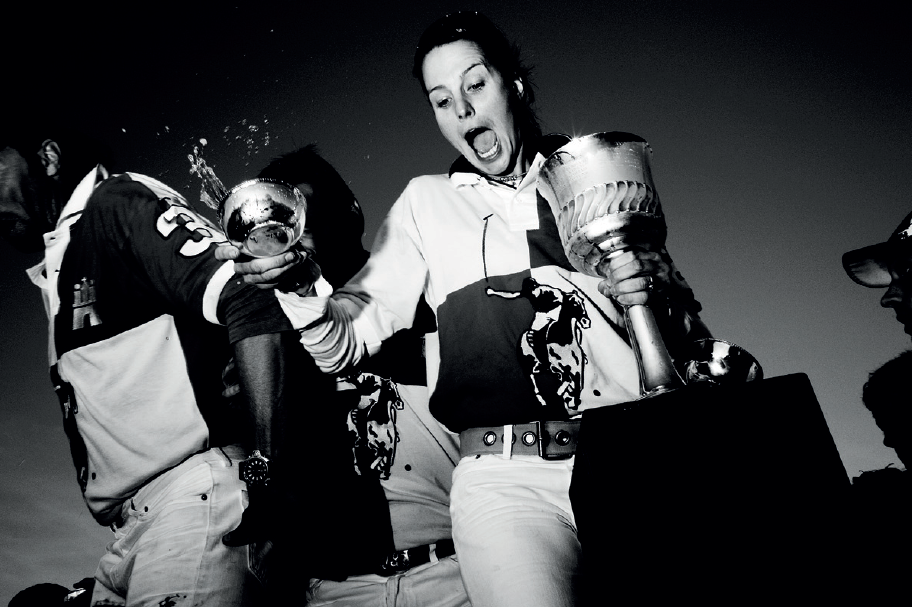
© Bertram Solcher
ISO Sensitivity
Images captured using high-sensitivity film or high ISO values usually show more grain or digital noise than ones shot at lower sensitivities. Textbooks often classify noise and grain as errors that are to be avoided, whereas I like to use these effects creatively.
The point of this chapter is to remind you that you need to know the rules in order to break them. If you don’t know why your camera reacts the way it does, you will end up being controlled by technology when you should be using technology to control the results.
This excerpt was taken from The Leica M Photographer by Bertram Solcher