If you are excited as we are about taking your next photo trip then you probably want to start planning now! This fun advice on how to best prepare before your plane leaves the tarmac comes from Scott Kelby’s The Travel Photography Book.
Doing the Research Before Your Trip
A few years ago, I had to go to Phoenix for work, so I thought I’d leave a day early and go shooting in Sedona. I’d always wanted to shoot there, so after we landed, my photo assistant and I made the two-hour drive. During the drive, my assistant asked me, “So, what’s the plan once we get there? Where’s our shooting location?“ and I said, “We’ll figure it out once we get there.” Huge mistake. You can imagine how badly things turned out. We drove around for hours, aimlessly searching for a decent sunset shoot location without any luck. We barely had a cell signal, so the internet was spotty, and we wound up settling for some stupid location (that explains why we were the only photographers there), and I was really upset with myself. One thing that helped a lot, as we looked out over a small canyon, was that while we were gazing at the vast nothingness of our sunset location, I casually reached over and gave my assistant a little shove and he went careening down the mountain. Well, it was more like a rocky hill than a mountain, but still, watching him bounce off the rocks on his way down into the steep crevasse was a hoot and got me out of that bad mood fast. Oh, now, don’t freak out—he was fine, and within six weeks, he was up and walking with a leg brace, no problem. He still walks with a limp, but we still laugh about what we call the “Sedona Sunset Shoot Calamity” and how the whole thing could have been avoided if we had just spent 20 minutes doing some simple research before we got on our flight. It reminds me of the time we planned a big fashion shoot downtown, right by a busy freeway, but I forgot to apply for a shooting permit from the city. Anyway, we had a whole crew and had hired a model, and now we’d blown the whole shoot, and as my assistant and I were standing there looking onto the busy freeway, with cars whizzing by, I casually reached over and….
My First Stop? 500px.com
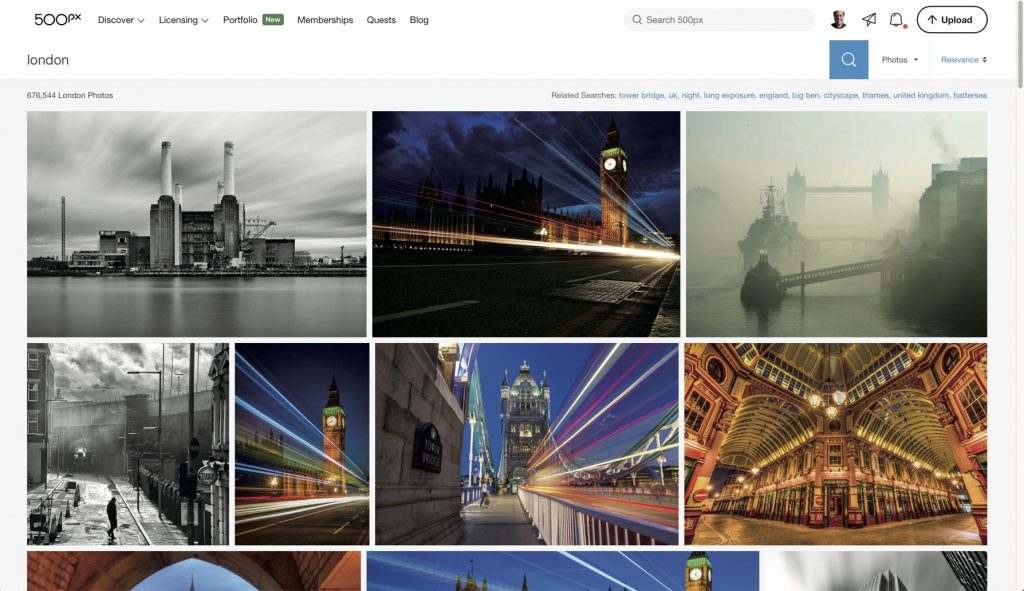
When we’re doing research for a trip, we’re looking for great locations, ideas for places to shoot, and inspiration, so my first stop for this type of research is a site called 500px.com. It’s a worldwide community of serious photographers and all you have to do is type in a city or location, like Cairo, Egypt, or the Dalmatian Coast, and hundreds, if not thousands, of photos from that area, often taken by top-notch photographers, will fill your screen. I have used this site many times and have uncovered places I surely would have missed, lots of places I hadn’t heard of, and viewpoints I might not have considered. Better yet, when you see an image that captures your attention, click on it to find out more info about that photo, which often will include the exact location (if not in the written description, in the keywords [search terms] they apply to the photo), and sometimes the photographer even gives you the exact GPS coordinates where their shot was taken. Make sure you read the comments people post below the photos because there’s often great info there as well, like other places nearby, or someone just asking the photographer where that shot was taken (if they didn’t mention it in their description). Note: This is a membership site, but you do not have to be a member to search the site, look at images, and do your research. You just need to be a member to post your own images or comment on others. That being said, I’ve been a member for years and it’s totally worth it. Either way, 500px.com is always my first stop when I’m researching a town or country to visit.
Next, Head to Pinterest
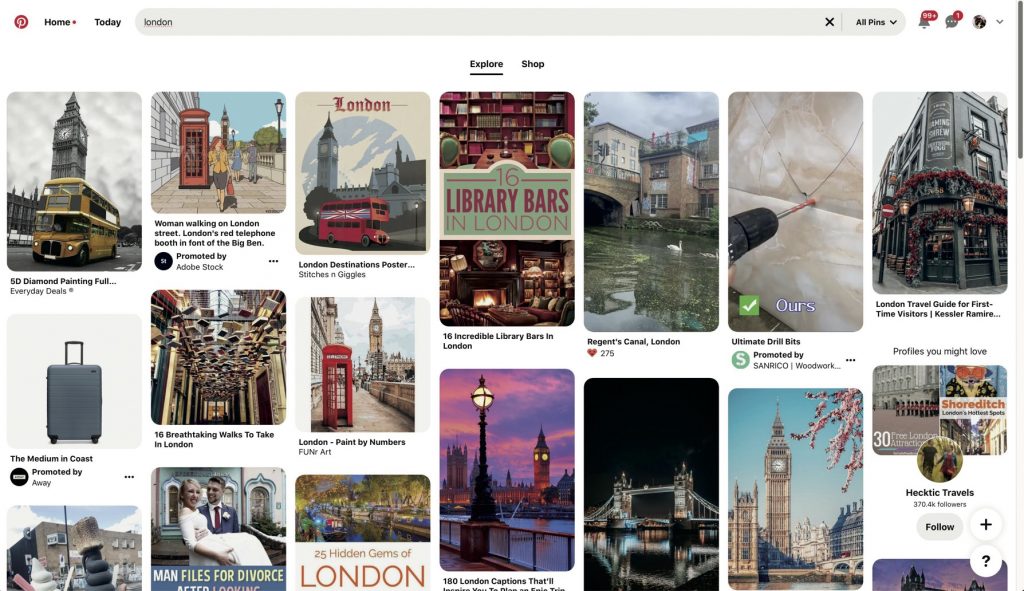
My next stop in researching travel locations is Pinterest.com. It’s much different than 500px.com (it’s not made up of serious photographers), but it has its own distinct advantage. Where 500px.com is a bunch of individual photographers showing you their shot from a particular location, Pinterest is regular folks who have curated their own collections of great images from a location, but from all different photographers. You use it in a similar way to 500px.com in that you just type in a search term and loads of photos appear. Okay, what’s the downside? Well, a lot of those photos that appear on your screen are actually ads for products. They work hard to make it look like they’re not ads, but when you click on them, they take you to a page about tour services, or luggage deals, or travel insurance, or whatever. You’ll also see regular ads from all the big names, from auto manufacturers to big box stores, which is kind of a drag (simply because there are just so many ads), but visiting Pinterest still has value, and you’ll uncover some shooting locations or ideas you might not get from 500px.com, so it’s still my second stop on my research journey.
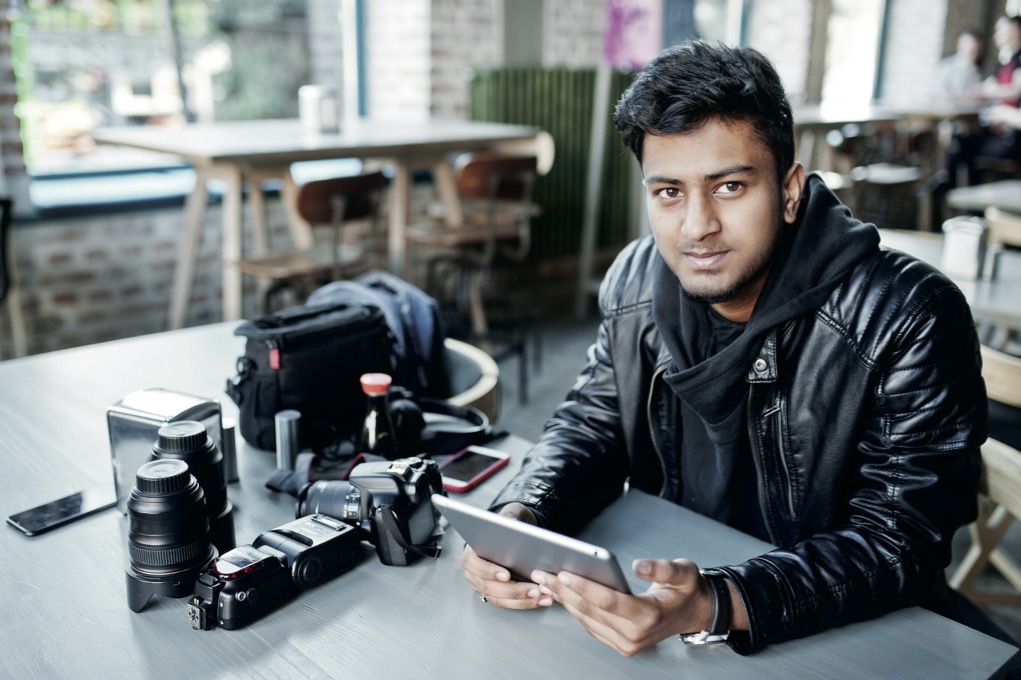
Make a Shot List
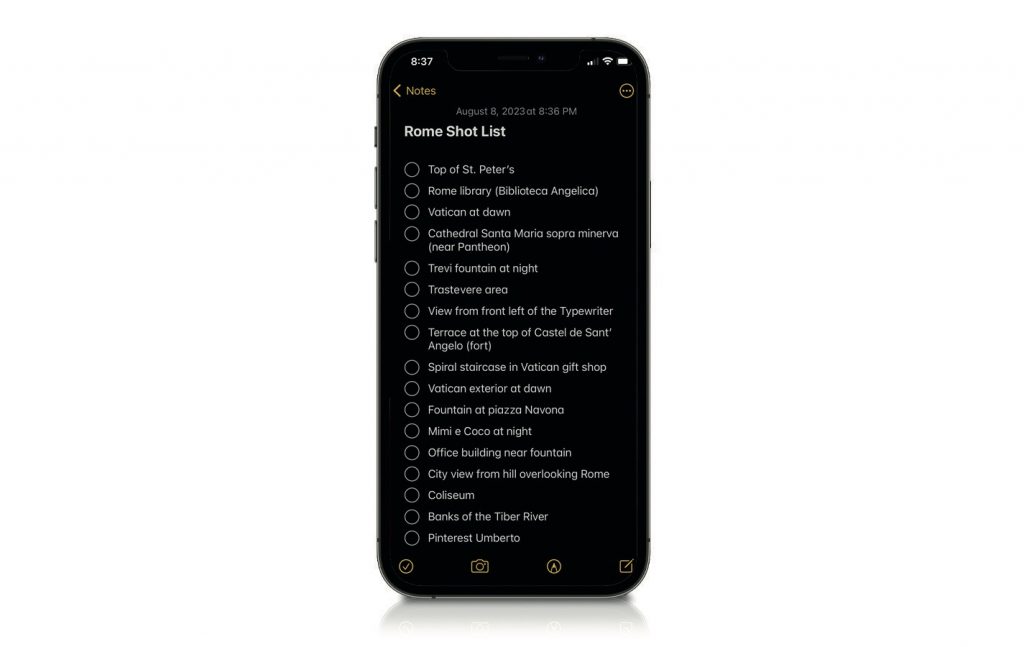
I do this on my phone, well before I arrive in a town, and I make: (1) a list of all the places and locations I want to shoot while I’m in that town, and (2) a list of the type of things I want to capture. So, this second list might include: classic architecture, interesting subway stops, cathedral spires, sidewalk cafes, photos of waiters, any fountains, and so on. Having these lists will not only keep you on track, but they‘ll have you coming home with more photos than you otherwise would have. These lists are great for when you’re standing there thinking, “I’m not sure what to shoot” (which happens more often than you’d think). I like to review these lists on my phone when I’m having a cup of coffee, waiting in line, waiting for a tour bus, etc. Try this once, and you’ll be making lists like this every time because they help you make the most of a location.
Find a Fixer
There is a “trick of the trade” that many top travel photographers and journalists use to make unique or really fascinating shots, especially in a foreign country, and that is to hire a “fixer.” They are more than tourist photo guides. They are people with serious connections, who can get you access to people and places you could rarely get to on your own. They know the language (and can act as your translator), they know the local customs, they can help get permits, and they know the local laws to keep you (and them) out of trouble. They know which guards to bribe to get you access to the top of a building for sweeping cityscape shots at dawn, or they know the maintenance guy at a local market, who can get you access to a second-story window overlooking the scene. They can get you backstage at the opera house when it’s empty, and maybe behind the scenes at a restaurant or old factory. They may also get you into the homes of locals to make incredible natural light portraits or they might arrange a professional model, in full local costume, to pose in the perfect spot. They seem to have the keys to the kingdom and can open doors and make things happen that nobody else can. They’re usually not too expensive, but can be a little hard to find because they don’t hang a sign out that says “photo fixer here.” The best way to find one is to reach out (on social media) to other photographers who have traveled to a specific area and ask for a recommendation. It’sa bit like an underground network—you’ll have to do a little digging, a little asking, a little bit of checking or posting questions in photography forums—but remember, the person you’re looking for is a photography “fixer.” Not a guide. Whatever you spend on one, and however much digging you do to find one, I promise you, you’ll look at your images and know right then, it was all worth it.
Try Google Earth
 I
I
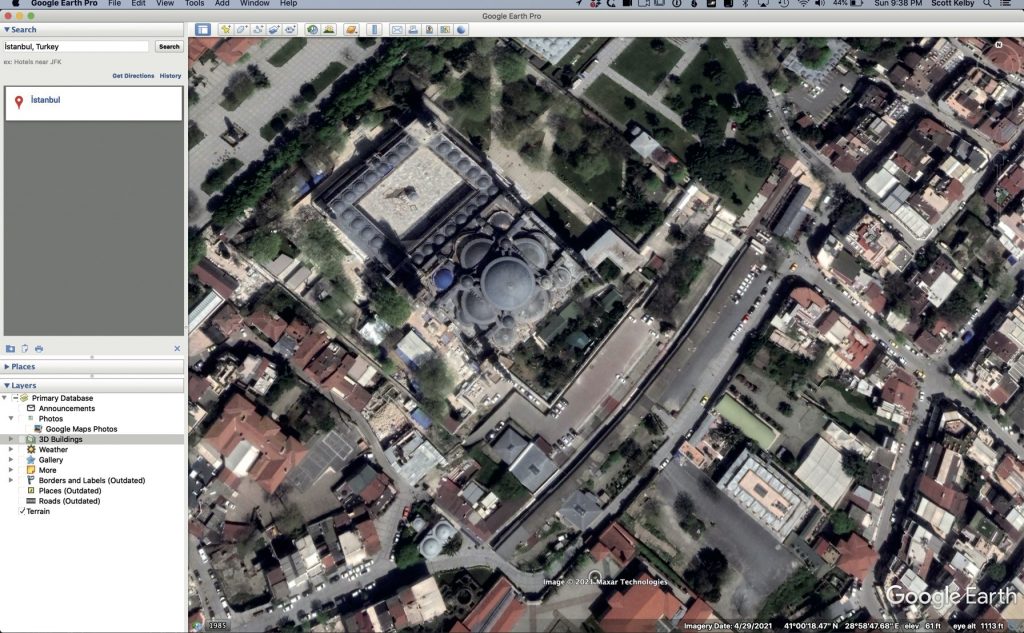
look to Google Earth (it’s on the web, but I prefer using the free Google Earth app), once I’ve found someone else’s photo online and I want to narrow down exactly where it was taken from. For example, there was a particular view of Sacr-Coeur Basilica in Paris that I had never seen before and I wanted to shoot from that same area, but put my own spin and angle on the scene. So, I used Google Earth to not only figure out which street it was taken from (the name of the street and cross street), but also to find other places nearby where I’d still have a view of the cathedral. One thing that really helped was searching for the name of one of the businesses I saw in the photo. That helped me quickly narrow down the location, and before I knew it, I was standing in that same spot (well, digitally), thanks to Google Earth, and then when I got to Paris, I was right there in person. It’s also great for seeing if there is easy access to a shooting location or if I will have to park the car and then do a lot of hiking to get out to that location. (And, what does that hike look like? Is it all uphill? Does it cross a stream? Does it look dangerous up there?) Just another great research tool that works as an extension of what you’re doing with the other sources you’ve already learned in this chapter.
The Hidden Power of the Concierge

There’s a big advantage to staying at a hotel with a concierge. For example, let’s say you want to take a shot at dawn from the hotel’s rooftop restaurant. Do not, I repeat, do not ask the hotel manager. It’s very unlikely they’ll let you up there because there’s nothing in it for them (only hassles). Instead, go to the concierge because they work for tips, and letting you do things that get them a tip is their jam. It’s what they do. They’re about making your wishes come true (which, in turn, earns them a tip). Just tell them you’re a photographer and how you’d love the opportunity to take a cityscape shot from the rooftop bar, but at 5:30 a.m. They’ll coordinate with the security guard who will be on that shift (and who they’ll probably have to give a little tip to, as well) to make sure they unlock the door for you. I have had situations where the concierge couldn’t get me rooftop access, so they asked if it would be okay if they got me out on the balcony of the Presidential Suite on the top floor (the guests had checked out) so I could shoot from there. Of course, I made sure to leave them a nice tip. The concierge has incredible power in their hotel (and sometimes with other concierges at other hotels or venues), and they have access, connections, and they’re motivated. It’s like a fixer right in your hotel, so don’t overlook what they can do to help you achieve your photographic vision while on their property.
Hire a Photo Guide
I hire a photo guide when I haven’t had the time to really research the area I’m traveling to—maybe it was a last minute trip, which happens surprisingly often, or I’m just swamped with work right before a trip. If I don’t get a chance to do the research like I want to before I leave on my trip, I pay the price, which is whatever the local photo guide charges. However, while I’ve done this a few times, I’ve had pretty mixed results with photo guides. Some have been pretty helpful and took me to places I probably wouldn’t have found on my own, and others took me to the most obvious places imaginable (like they’ll take you to the Colosseum in Rome or the Leaning Tower of Pisa. You would have wound up there on your own anyway). I’ve also had photo guides that obviously have arrangements with local vendors where they get kickbacks or commissions, so during the day you wind up at stores and restaurants you didn’t really want to visit. One way to find a good photo guide is to look at their personal photography—find their Instagram account and see what kind of photos they’re taking when they’re not with their clients. If the photos are pretty average, you can imagine they’re going to take you to pretty average places (after all, if they knew better places, they’d be shooting there, right?). If they’ve got some great shots, your chances of a good experience (and making your own great shots) go way up. One more thing: there is probably zero chance of your actual photo guide looking anything like the handsome gentleman you see here. Just so you know.
Location Scouting

I’m going to share with you one of my best time-tested tips for getting great shots in a city you’ve never been to before. It’s going to sound very touristy, and at first you might dismiss this idea, but I promise you, if you do it, it will pay dividends (well, photographically anyway). The tip is this: when you first get to a city, book a two hour bus tour of the city and (this is the hard part) leave your camera behind. That’s right, leave your mirrorless or DSLR back in your room and just take your phone because what you’re doing is location scouting. If you take your regular camera, you’ll spend the time shooting, instead of finding great places to return to with all your gear to get great shots. You’ll get a great overview of the city, and you’ll see places on your list that you’ll realize aren’t going to work. This happened to me in Paris. I was planning to get up at dawn to shoot the exterior of the Opera House, until on that bus tour, when I saw a big part of it was covered in scaffolding, so I did a dawn shoot at a different location that worked out great. Not only will you find places being restored, or that are just closed, or that have stuff in the way that kills the shot, you’ll also find some places that you wouldn’t have found, like a charming little fountain on a side street, or a courtyard that doesn’t show up in any guide, or a charming restaurant you want to try for lunch. Be sure to take pictures with your phone of places you want to return to because it will automatically embed the GPS data into each shot, so you’ll know exactly how to get back to those spots (enter the GPS data into Google Maps, or open the image in Lightroom, and in the Metadata panel, next to GPS, click the right arrow to take you to a map showing a satellite image of your exact position when you took the shot). If nothing else, the bus tour will give you two full hours to relax and really see the city without having a camera pressed up to your eye.
Make Local Connections on Social
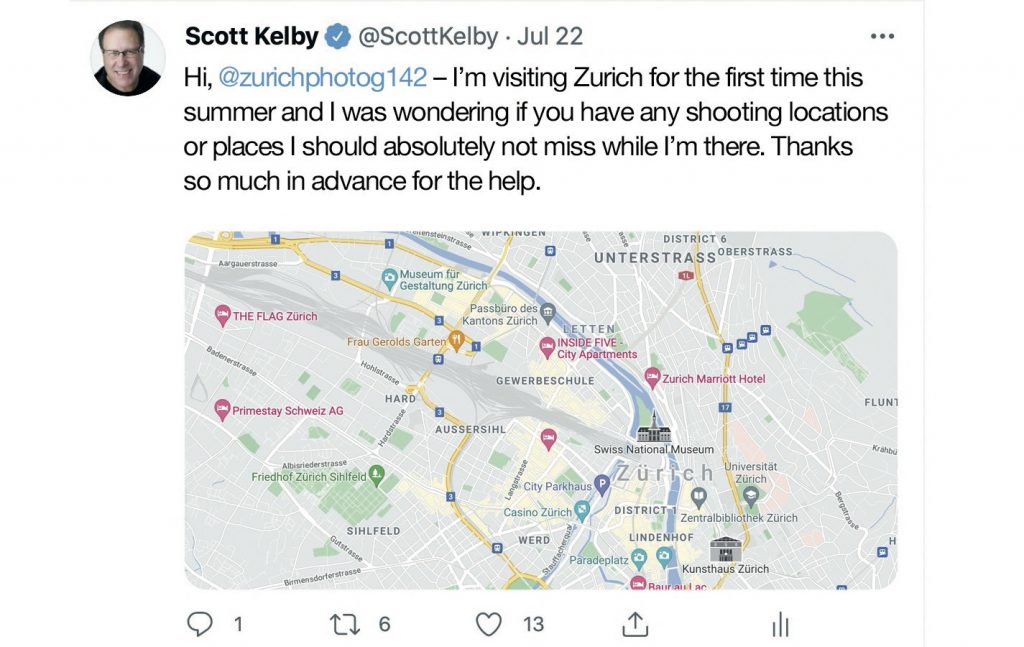
When heading someplace, especially a foreign country, before you go, do a little research on social media and contact some of the local photographers in that area. Let’s say, for example, you searched on Facebook for photographers based in Zurich, Switzerland, and you found a few that are posting in English (or your native language). Just drop them a comment on a recent post saying that you’re a photographer, too, and that you’re coming to Zurich for the first time, and ask if they have any photo locations you definitely should not miss on your trip. Photographers are often really happy to help point you in the right direction, and they might even share some of their own favorite spots. Just this minute, I went to Instagram and typed in “French Photographers” and it brought up lots of France-based photographers (and lots of good ones, too!). Just drop them a comment—connecting with local photographers is a great way to find unique shooting spots and opportunities. Don’t overlook this one—it can really make a difference.
This article was excerpted from Scott Kelby’s The Travel Photography Book: Step-by-step techniques to capture breathtaking travel photos like the pros