Get Creative with Double and Multiple Exposures! May 10, 2016 – Posted in: Photography – Tags: chris marquardt, diane F, double exposure, film, film camera, film photography, film photography double exposure, film photography tips, multiple exposure
Double exposures are among the great creative playgrounds in photography. They are rather unpredictable and use up a lot of film, but they are great fun and always good for unexpected results. They offer the option of combining many small stories into one, or presenting them side-by-side in one picture. You can correlate things that are foreign or combine different perspectives of a subject into one picture. When using color film, the colors of the individual exposures also overlap and mix under the principles of additive color. If you combine all of this, you can create surreal image worlds that can be interpreted very differently by each viewer.
Although unplanned or even unintentional double exposures can often have appealing results, you can get more success if you do more than just pressing the button more than once. You are trying to overlap the exposure of two (or more) pictures in such a way that you get the different levels to interact, not just blend together.
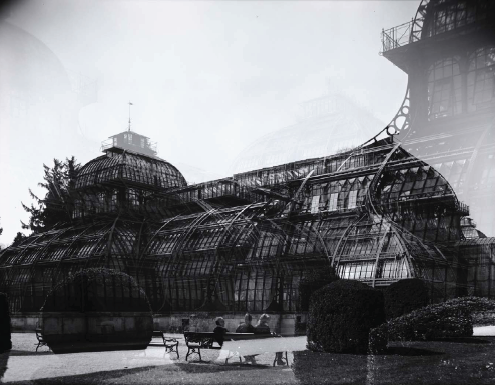
Accidental double exposure. Greenhouse in Schönbrunn Palace park, Vienna
If you want to control your multiple exposures, you can draw up a sketch of the envisaged effect and think carefully about how to arrange the central image elements in the viewfinder. But often, it’s enough to visualize where the darker areas of the shot will be, because that’s where a second exposure will be the most obvious. High-contrast shots with larger bright and dark areas are best for practicing. Combine patterns and textures with portraits or architecture, close-ups with things that are far away, water with desert, or silhouettes with plants: your limit is your own imagination!
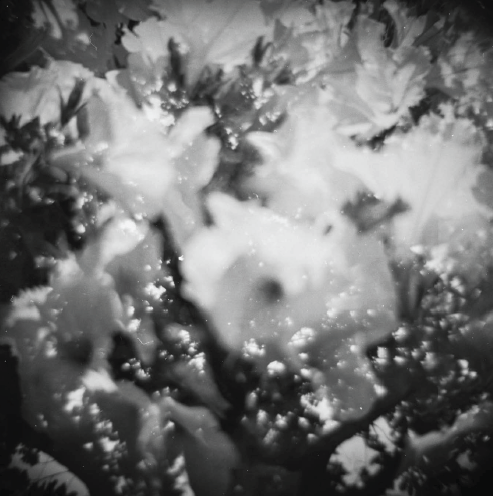
Double exposure with Diana F+ on expired Ilford XP2
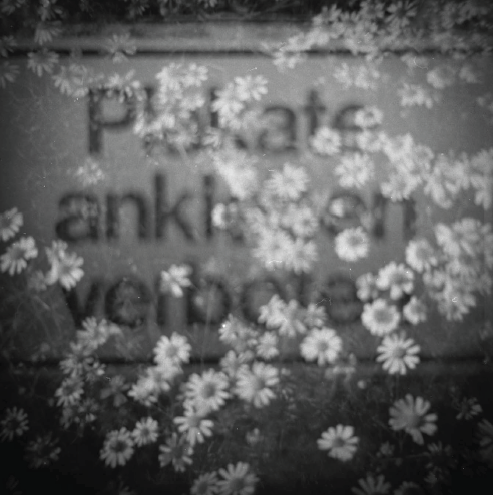
Double exposure on Diana F+ on expired Ilford XP2
The Exposure
Negative film is very forgiving when it comes to overexposure, but you should try to adapt the exposure of individual shots so it adds up to the correct exposure for the composite. Otherwise, you may find that you end up with overly washed out or poor-contrast pictures. You have the option of controlling this via the ISO value—for example, if you are using a film with ISO 100, do each exposure at the setting for ISO 200. Or you can adapt the time and/or aperture value.
If you want to give both exposures the same amount of space in the finished picture, stick with halving the amount of light per shot. But you can also emphasize one of the two exposures more than the other by splitting the exposure in a different ratio, such as ⅓ to ⅔.
There are cameras where precise exposure control is hardly possible, or not possible at all. This includes simple cameras such as the box camera or the Diana. If you want to use these for multiple exposures, just use a lower speed film. As a basic rule: negative film is better suited than slide film because it has a greater exposure latitude. Black-and-white film is more forgiving than color film.
Fake Double Exposures
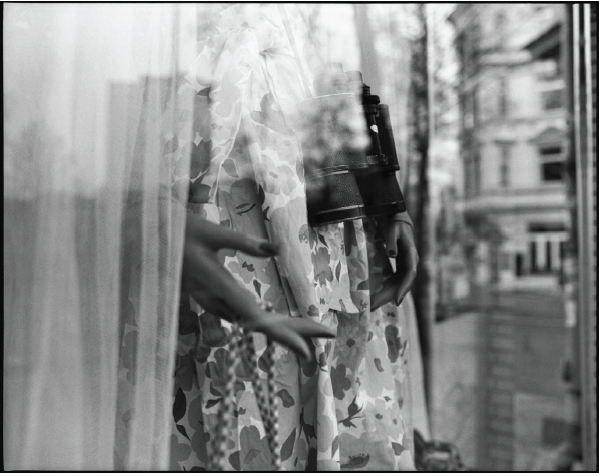
Another option of working with different levels in one picture—creating a kind of fake double-exposure effect all at once—is playing around with simultaneous reflections and views through other objects. This enables you to combine different perspectives. For the viewer, this forms a kind of picture puzzle that will hold the eye for more than just a few seconds.
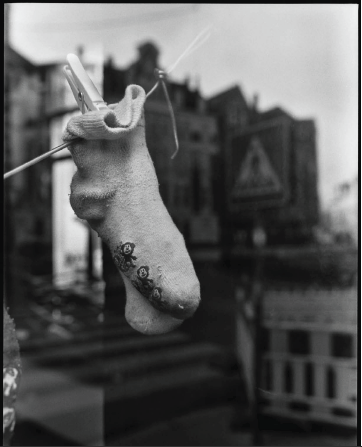
“Waiting,” Pentax 67 on Kodak Tri-X 400
Long Time Exposures
In the early days of photography, when the photo material was not very sensitive and the lenses were not very short, exposure times of 5 seconds or more were a necessity. If you sat for a photo portrait, your smile may well have frozen on your face. Sitting still for so long was incredibly tiring, which is perhaps why the people in the old photos always look so serious.
Today, the situations in which you have to use long exposure times are getting rare, but situations in which you can have fun with long exposure times are still a-plenty. The long exposure time has become a creative tool. If you use it during bright daylight instead of at night, it has the potential of producing a photograph that can turn the viewer’s way of looking at things on its head.
“You are looking out,” Pentax 67 on Kodak Tri-X 400
Visible or Invisible?
You can use long exposure times to turn people who are walking through the picture invisible. If the people only appear in the viewfinder for a short time in comparison to the shutter time, they will not leave any visible traces on the emulsion. An absence of people where you would expect to see people can create a very special atmosphere in architectural shots. On the other hand, you can also emphasize how lively a city is by not freezing ambient movement, and instead making it visible through blurriness.
In contrast to exposures that happen in the blink of an eye, shots with long exposure times do not just capture a moment. They show the subject in time. They visually shrink down the time of the shot to a single moment for us as viewers. Movements of things or people are blurred, and seem to flow through time. Depending on whether you expose for a few seconds or several days, you can capture moving clouds, flowing water, or the wilting of a flower. For the human eye, this suddenly reveals connections that were hidden before.
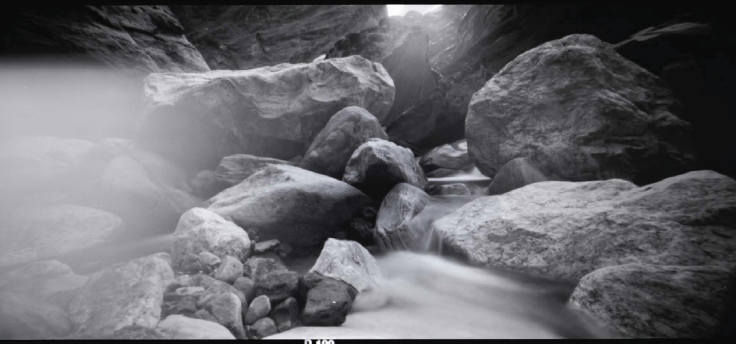
Long exposure time along Annapurna Circuit on Efke 50, shot with Holga-120WPC
The photos and tips from this article are excerpted from The Film Photography Handbook: Rediscovering Photography in 35mm, Medium, and Large Format by Chris Marquardt and Monika Andrae

