Food Photography: Composing with Color February 19, 2016 – Posted in: Photography – Tags: corinna gisseman, creating contrast, food photography, food photography tips
This tutorial was written and illustrated by Corinna Gisseman, author of “Food Photography: A Beginner’s Guide to Creating Appetizing Images”
Food photos are usually in color, although to avoid distracting the viewer from the real subject, the colors themselves normally play a secondary role. This is especially true of backgrounds and other props. Take care not to use too many different colors in a single photo, as this, too, unbalances a composition. Try to select colors that complement the color of the food.
It is often a good idea to reflect the color of your main dish in additional elements in a composition, such as a serviette, a glass, or freshly cut flowers. If the dish itself is colorful, it usually pays to tone down the rest of the scene using achromatic colors such as white, gray, or black. To deepen your understanding of the color wheel, try printing one out and keeping it handy while you work.
Contrasting Colors
The more different two colors are, the more contrast they produce. Complementary colors offer the greatest contrast. The contrast between complementary colors increases their perceived brightness while preserving color balance. Some sample complementary color pairs that reinforce each other’s brightness are green and magenta, red and cyan, and blue and yellow.
Other types of color contrast play a role in food photography too. These can be the contrast between warm yellow/red and cool green/blue tones or the qualitative contrast between different degrees of saturation (for example a deep red subject set off against a pastel yellow background). Light/dark contrast between similar tones is also an effective compositional tool.

The pastel green background contrasts beautifully with the raspberries in this shot
ISO 100, 1/30 second, f/3.5, 100 mm
Tastes vary and there are no real limits to how you can use color in your food photos. The most important thing to note is that the brightest, most colorful, or most highly saturated element of your scene is the one that will attract the viewer’s attention and determine the feel of the image. In other words, make sure the dominant detail is the one you wish to emphasize most.
Analogous Colors
To produce images with a calm overall look and feel, you are better off using analogous colors that harmonize with one another. Using this approach produces results that are discreet and unobtrusive rather than bright and bold.

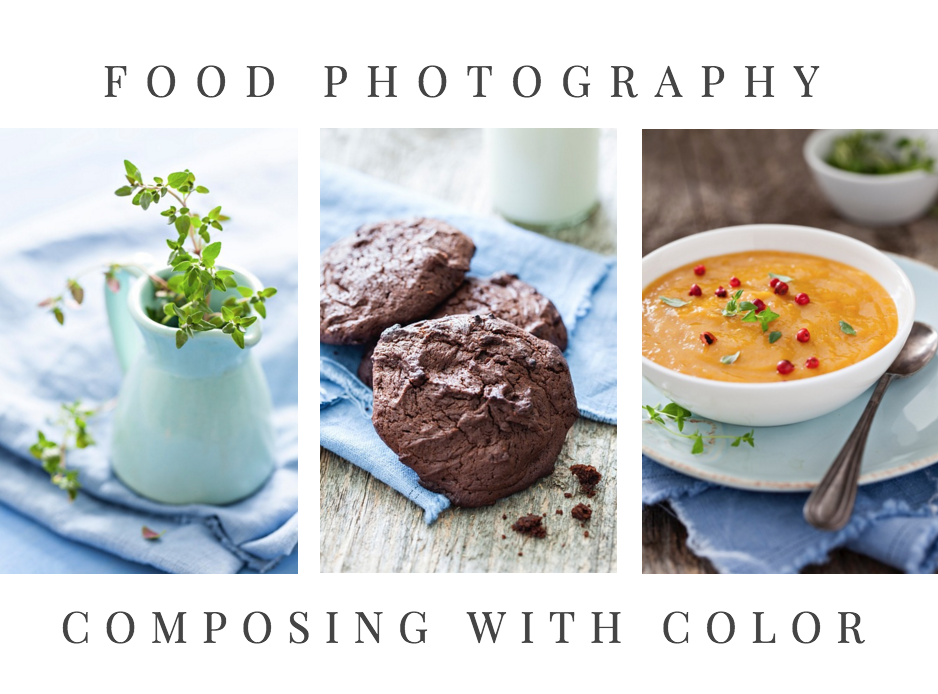
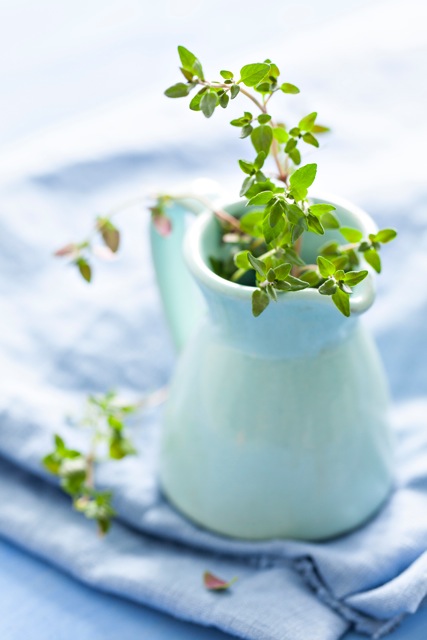
Green and blue are analogous colors that fit well together
ISO 100, 1/6 second, f/4.5, 100 mm

Cookies and cake usually have a dark orange base tone and contrast well with blue
ISO 100, 1/2 second, f/5.6, 100 mm
Monochromatic Composition
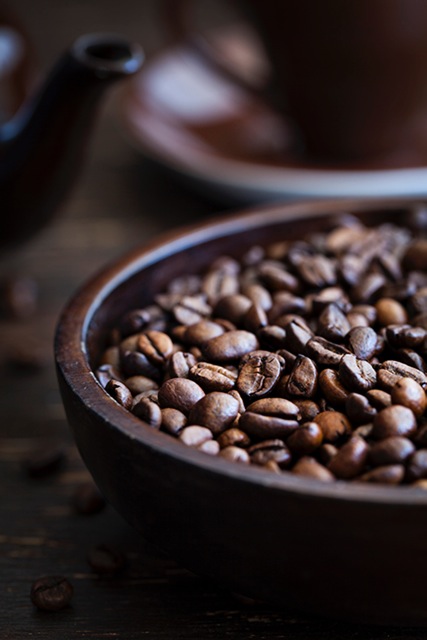
A monochromatic “tone-on-tone” approach is another way to create highly pleasing effects like the one shown in the coffee bean still life. “Monochromatic” means selecting a main color and using slightly lighter or darker tones of the same color for the rest of your props and the background. Black, white, and gray are neutral, achromatic colors that, in principle, represent grayscale values. They make great additional colors in a composition, but only as long as they don’t create too much contrast with the main colors. For example, yellow is better combined with white than with black.

This shot demonstrates the effectiveness of a monochromatic tone-on-tone composition
ISO 100, 1/2 second, f/5.6, 100 mm
Adding Texture
A plain sheet of white paper is not particularly attractive to look at, but immediately becomes more appealing if you cover it with black dots. Texture is an integral aspect of the food, backgrounds, and props you use.

This soup has a specific texture of its own that can be accentuated using clever styling
ISO 100, 1/25 second, f/5.6, 100 mm
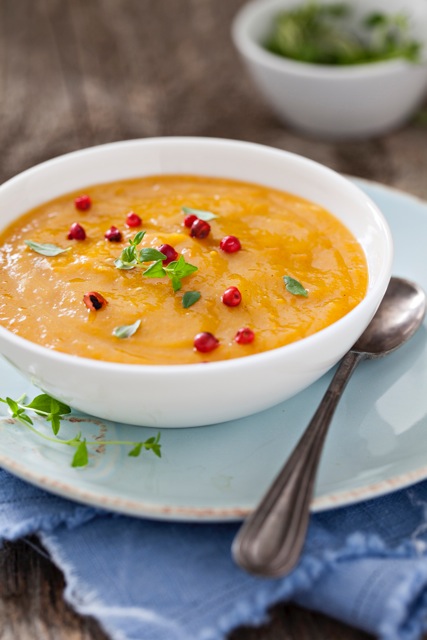
Adding red berries and green herbs emphasizes the soup’s texture and makes it more interesting to look at
ISO 100, 1/20 second, f/5.6, 100 mm
For example, adding raspberries and pistachios enhances the texture of the delicious-looking chocolate pudding, but the background is boring. Adding a wooden background makes the shot much more interesting without reducing the appeal of the subject. Try using backgrounds made of different materials and with different patterns, and don’t be afraid to experiment with random additional elements that loosen up the overall composition.
Capturing a Mood
In addition to color and texture, the mood of the image is another key aspect of every great food photo. Put very simply, the two basic types of food photo that I distinguish between are “bright and airy” or “dark and homey.”
Images composed of elements such as dark wood, antique flatware, and stoneware cups communicate a solid, homespun, almost mystical feel, while white plates, highly polished flatware, bright backgrounds, and plenty of light have a bright, airy, lighter-than-life feel. Keep an eye out for suitable props at garage sales and flea markets.
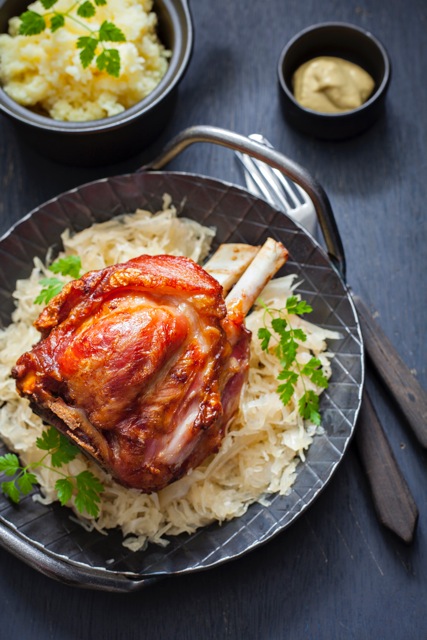
The prime characteristics of a home-style scene are dark colors and props with a used look
ISO 100, 0.8 second, f/6.3, 50 mm
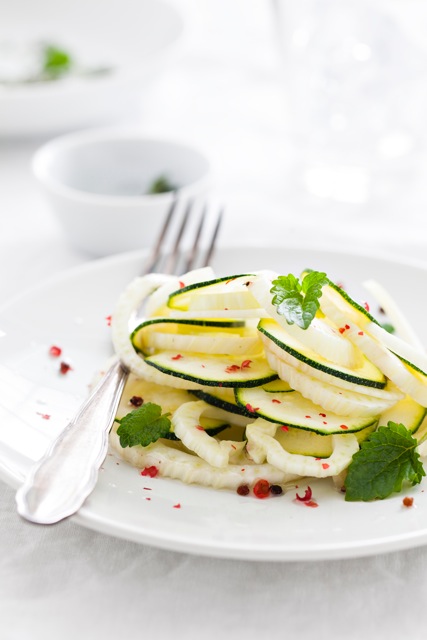
White-on-white is great for photos with a light, airy feel
ISO 100, 1/8 second, f/5.6, 100 mm
Always consider which backgrounds, props, and lighting mood best suit the dish you are photographing. Rich food, starch, and exotic herbs are ideal subjects for portraying in darker surroundings, while lighter spring and summer vegetable dishes cry out for lighter colors. Using the seasons or the climate in your recipe’s country of origin as a guide are surefire ways to get great-looking results.
Want more? Then be sure to check out Food Photography: A Beginner’s Guide to Creating Appetizing Images – Coming Spring 2016!

