How to Create a Double Exposure With a Flash October 6, 2016 – Posted in: Photography – Tags: alan hess, double exposure with flash, double exposures, enthusiast's guide, How to Create a Double Exposure With a Flash, multi-shot
Follow these steps to create a double exposure using a flash!
One of my favorite techniques for creating a double exposure look is using a flash to illuminate the same subject more than once in the same frame. It’s easy and lots of fun to play with. You leave the shutter open and use a light source to illuminate the parts of the scene you want the camera to record. The “double exposure” part comes into play because you can move or change the subject or add new elements to the image during the exposure and expose the same area to light twice during a single exposure. Back when I was in college, I used this technique to take portraits of people talking to themselves on a single frame of film.
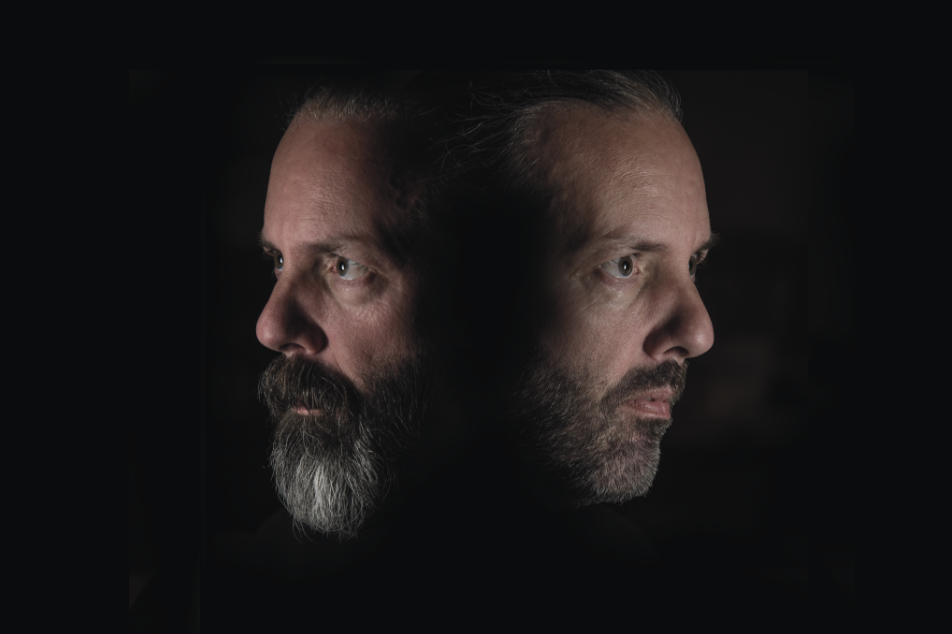
Above is a self-portrait I created in my living room with a camera, a tripod, and a single Nikon Speedlight.
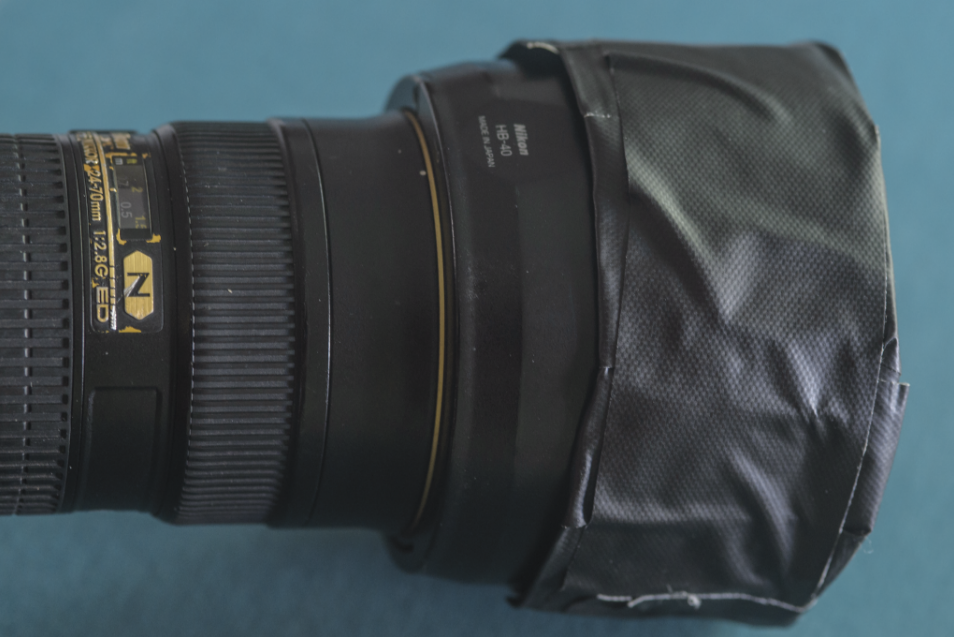
When the shutter is open, light is allowed to enter the camera, so I have two main tips that will help you create successful images with this technique. The first is that it helps to work in a very dark area. The second is to use something to cover the front of the lens to block the light between the “exposures.” You will want to block any light from entering the lens. I usually make a homemade lens cover that goes over the whole front of the lens. I start by cutting a cardboard circle a little bigger than the front of my lens, and then I cover it in black gaffer tape. I use the tape to make a big lip around the cardboard so that I can slip the cover over the front of the lens (see below). The cover doesn’t have to be pretty, but it does need to block out light and it should be easy for you to put on and remove from the lens without moving the camera.
You can also cover just part of the lens with a piece of black poster board when you fire the flash to block the light from portions of the scene. This prevents the light from reaching the sensor.
If the two exposures (i.e., the two flashes) are going to take place in the same area, it’s helpful to use a tripod to keep the camera steady. I like to set up the scene and then lock the camera into position so that the only thing that changes between the two flashes is the main subject. This adds a sense of realism to an unrealistic scene.
Follow these steps to create a double exposure using a flash:
- Attach a cable shutter release to the camera.
- Set the shutter speed to Bulb.
- Set the ISO as low as possible (ISO 100).
- Set the aperture to f/16.
- Mount the camera on a tripod and compose the scene.
- Focus on the subject, then switch the camera to manual focus so that it doesn’t change focus when you take the photo.
- Turn off all the lights to make the scene as dark as possible.
- Press and lock the shutter release button on the cable release to open and lock the shutter.
- Light the subject with the flash.
- Cover the lens.
- Move the subject.
- Uncover the lens.
- Light the subject a second time.
- Close the shutter.
The resulting image is a single frame with two exposures created by the flash, as seen here.
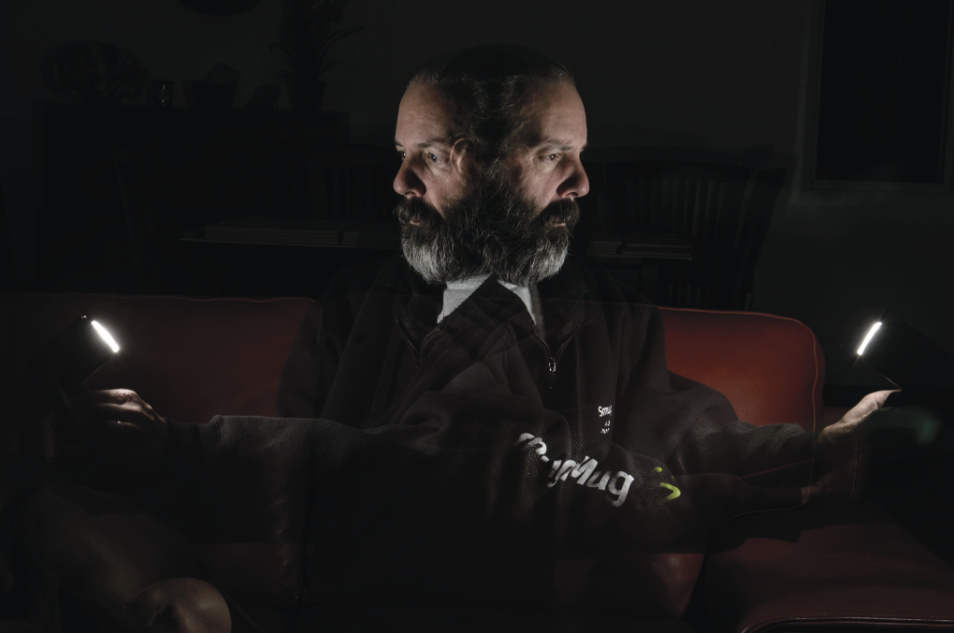
One of the great things about digital cameras is that they provide instant feedback so you can see how the image came out immediately. This allows you to experiment with the light placement, the position of the subject, and the power of the flash. Adjusting the power and direction of the light source allows you to fine tune the image and change how the subject looks. If there is too much light bleeding over to where the subject was positioned in the first frame, the background will show through the subject, making it look like a ghost.
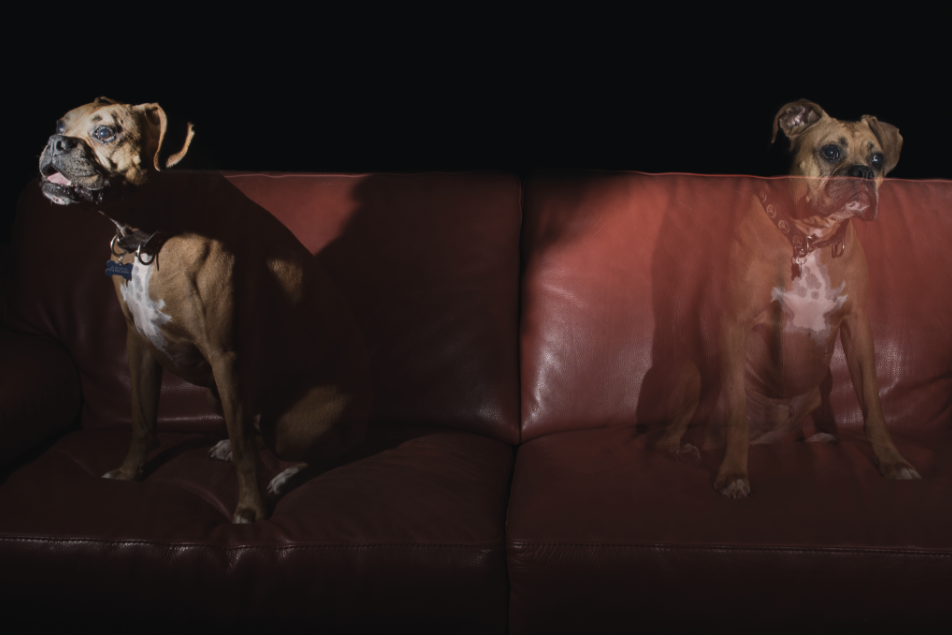
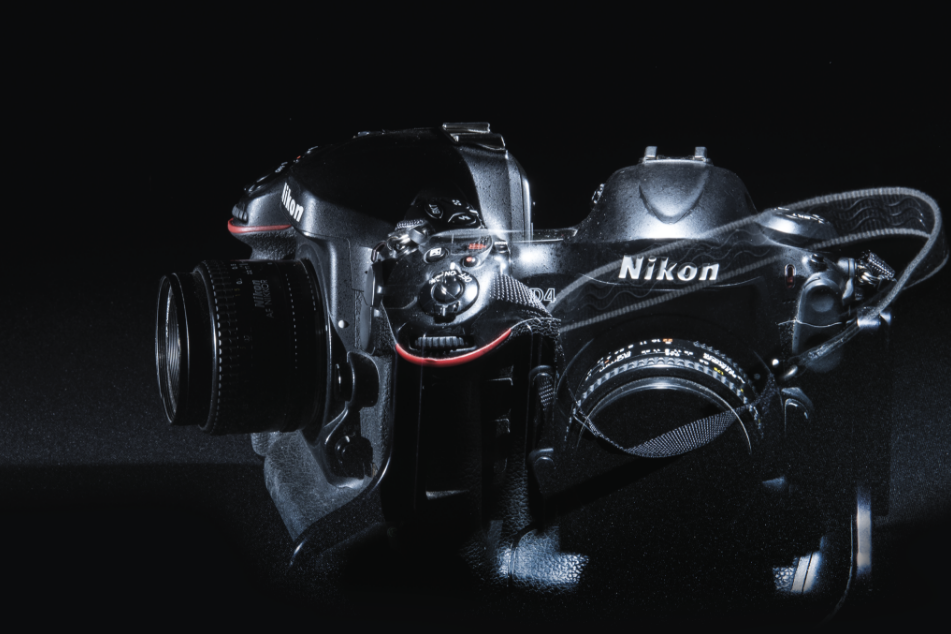
It can be a lot of fun to experiment with this technique. Although it is technically not a double exposure, you can get the overlay effect by moving not only the subject but the camera as well. Just make sure that you cover the lens while moving the camera or the subject.
To create the figure below I moved the subject from one side of the frame to the other and I also moved the camera.
Some of you are probably thinking that you can do this very easily with Photoshop or another image-editing program, and I agree—it is easy to do this in Photoshop. But it is viscerally rewarding when you create this effect in the camera.

