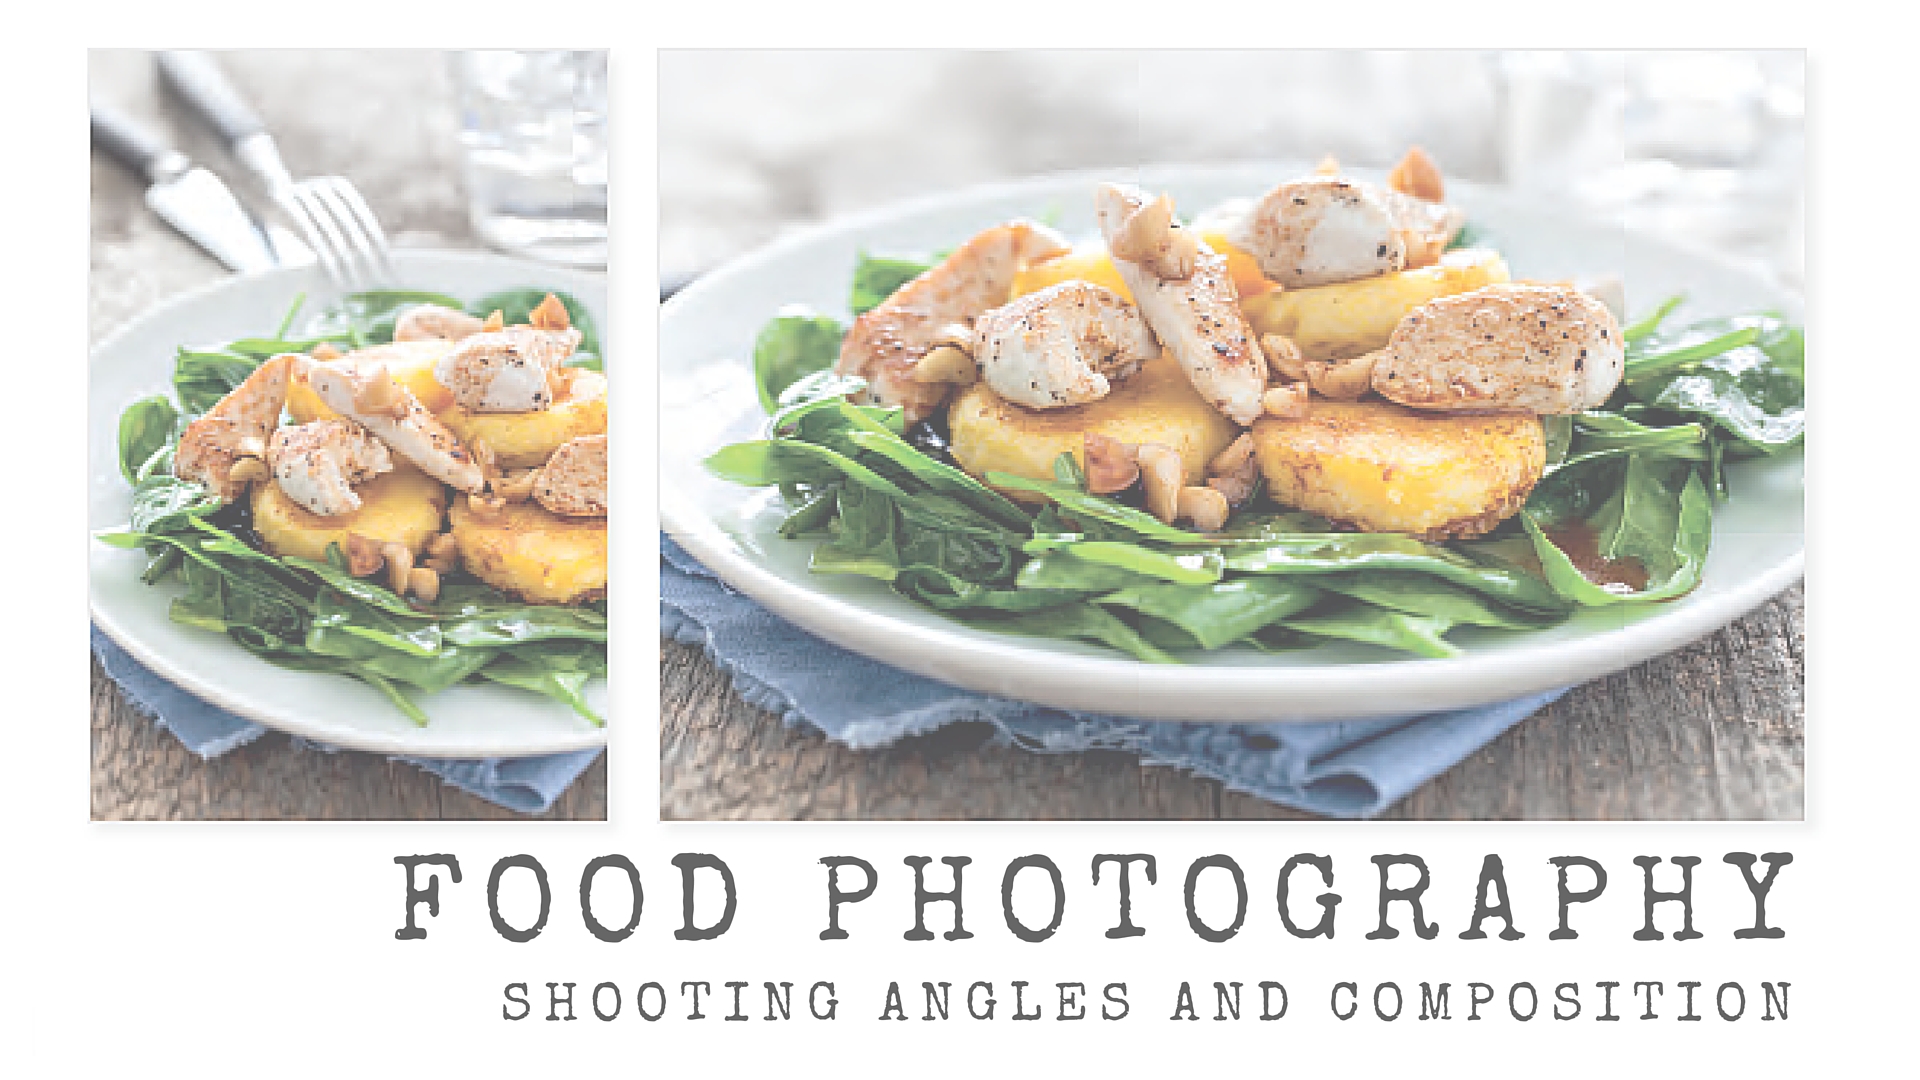

Food Photography Shooting Angles and Composition June 16, 2016 – Posted in: Photography – Tags: corinna gisseman, food photography, food photography composition, food photography shooting angles, food photography tips, food photos
This is an excerpt from Food Photography: A Beginner’s Guide to Creating Appetizing Images
Start Slowly
To make getting started easier, I recommend that you practice on still-life subjects—ones that you don’t have to prepare and cook, and that don’t lose their luster while you work. Fruit, raw vegetables, herbs, and cookies are great static subjects to practice on, and I promise they won’t talk back!
Portrait or Landscape Format?
Would you photograph a pitcher of homemade lemonade in portrait or landscape format? I’m willing to guess you would instinctively choose portrait format. Or how about a beautifully set table full of delicious dishes? Landscape format is the option to choose if you want to include plenty of detail. However, some subjects can be captured effectively using both formats, and as always, your approach will be determined by your personal preferences. Over the years, I have developed a distinct liking for portrait-format shots.
The advantages of portrait format are that it makes composing a scene easier, gives the subject more depth, and has a more dynamic look than landscape format. It is, of course, the best option when you are working with tall subjects and props.
When you are composing a shot, it helps to know how the finished images will be used. On the web, portrait-format images are usually displayed larger than their landscape counterparts. If you want to add a signature or recipe text to an image, it is easier to build extra space into a portrait-format composition. I will explain how to do this later in the chapter. Portrait format is often used in advertising because it makes composition simpler. The next time you are flicking through your favorite magazine, check out how many of the advertisement images were shot in portrait format.
Because we scan our surroundings horizontally, landscape-format images tend to appear calmer, more natural, and slightly static. However, a landscape-format image contains more detail for the brain to digest than a portrait-format image, so if you want to be sure of producing balanced- looking results, you have to take extra care when setting up landscape-format shots. Each prop plays a significant role.
Once again, there is no right or wrong option and the effectiveness of the finished image depends on successful design and composition. Try to follow your gut feeling when deciding which format to use—you will usually pick the right one instinctively.
Shooting Angles
Just as you can look at a delicious dish from a variety of angles, you can photograph it from a number of different angles too. The three most widely used views in food photography are eye level, bird’s-eye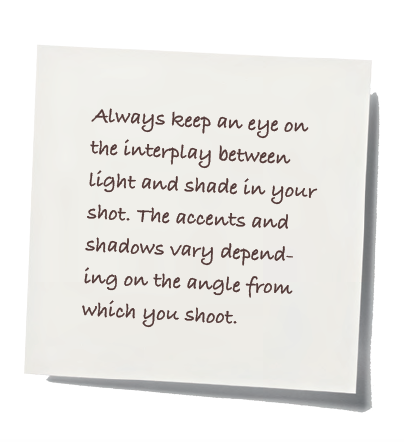 (from above), and diagonal at 45 degrees. The angle you choose will depend on the subject and your personal preference. For example, pizza looks best if photographed from above, while a multi-layer cake looks much better when captured at eye level. If you are not sure which option to use, take multiple shots of your subject from various angles and select the best image later on. You will quickly learn which angles are best suited to what types of food. Give yourself plenty of choices and take as many shots as your subject allows.
Eye Level
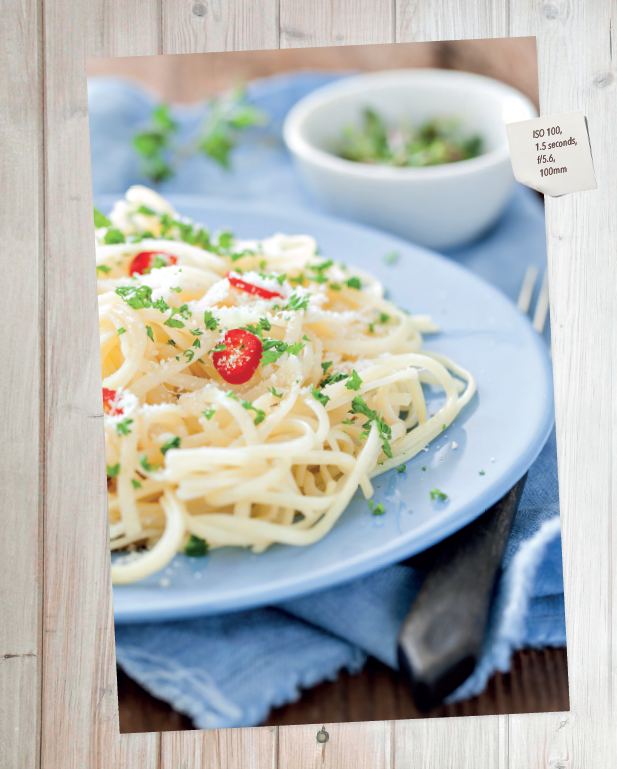
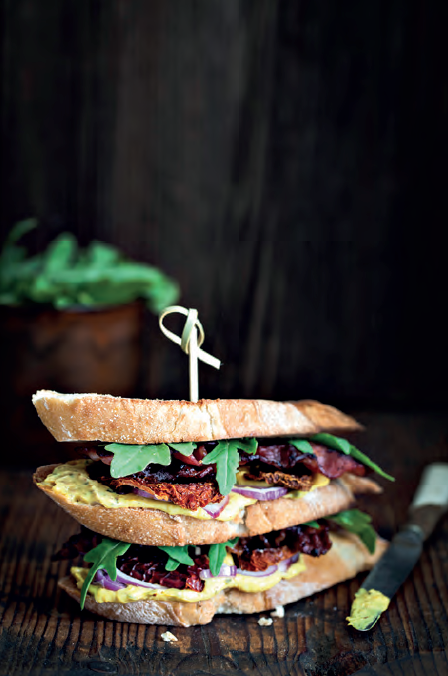
Shooting at eye level means positioning your camera on the same level as your subject. This approach is ideal for photographing drinks, burgers, sandwiches, wraps, cakes, and other layered desserts. It offers the viewer a look inside the subject, clearly revealing the individual layers and emphasizing just how delicious the fillings are. Remember that the viewer will only be able to see the front of the subject, so concentrate on making the side facing the camera look really good. An eye-level view also allows you to shoot at wide apertures, which separates the subject visually from the background (see page 17). Furthermore, if you don’t have access to a tripod, you can capture shake-free eye-level shots simply by placing your camera on the table.
The downside of an eye-level view is that you have to put a lot of effort into designing the background because the surfaces beneath and behind the subject are visible. The surface beneath the subject can either contrast with the background or, as in this example, match it to enhance the overall mood. An eye-level view is less suitable for capturing food served in opaque dishes, pots, or cups because the container blocks the all-important view of the food inside.
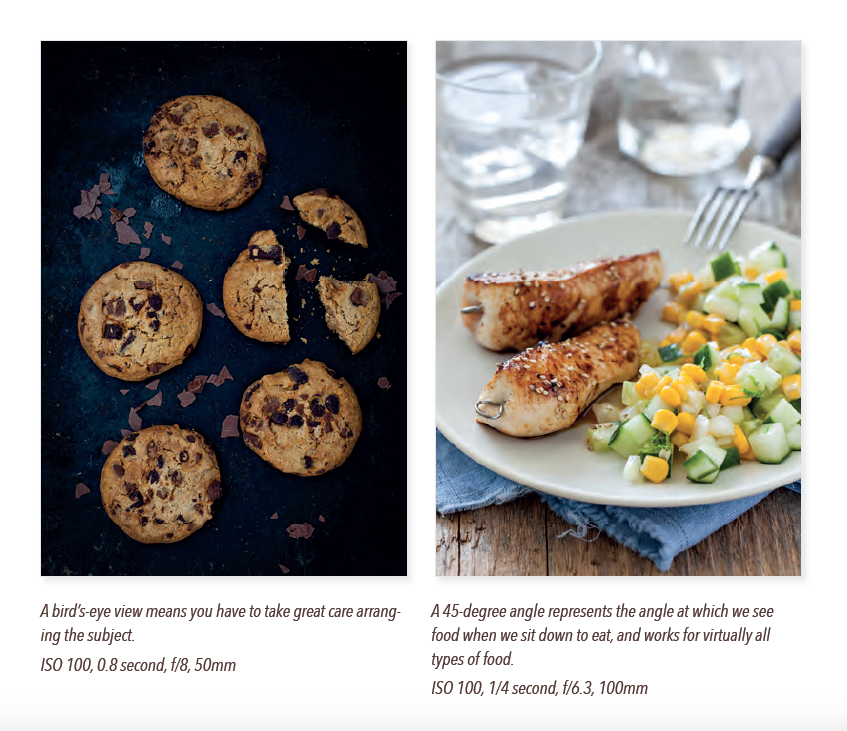
Bird’s-Eye View
A bird’s-eye view provides an overview of the subject and its surroundings while emphasizing the shapes of the individual elements. Images shot from above often have a highly graphic feel. The downside of shooting from a bird’s-eye view is that it is more difficult to create a balanced composition (for example, see the cucumber soup shot detailed in chapter 6); although again, nothing beats practice!
If all the elements in your image are the same height, you can use a wide aperture and still keep everything in focus. You can shoot a subject arranged on the floor from a standing position using a 50mm lens, but you will need to use a stool or a short step-ladder if you shoot with a 100mm (or longer) lens. Floor-to-ceiling windows are ideal for lighting bird’s eye shots at floor level.
Shadows are generally more of an issue when you shoot from above, although their structure depends on whether you use direct or diffused light, as well as on the light-to-subject distance (see page 50). Unless you want to deliberately use shadows as part of the composition, be sure to use soft, even lighting for overhead shots. An eye-level shooting angle offers an intimate view of the subject. ISO 100, 1/4 second, f/5.6, 100mm
Shooting at an Angle
Shooting at an angle is a good compromise, and there is plenty of scope when shooting at angles between 30 and 70 degrees. This happy medium works for just about any dish and enables you to accentuate details on the front, sides, and upper surface of your subject while still giving a clear indication of its shape and size. This type of shot is particularly easy on the eye because it utilizes the angle at which we see food when we sit down to eat. It usually includes some background detail, making it necessary to carefully arrange your other props. However, clever composition and carefully considered shooting angles also make it possible to shoot without using a dedicated background at all. An angled camera position is great for closeups or when you have to shoot in a small space. Once you get going, you will quickly learn to judge which angles work best for which types of subjects.