

How to Position Food Photography Subjects September 15, 2016 – Posted in: Photography – Tags: food photography, food photography tips, food photos, How to Position Food Photography Subjects, position food subjects
The most important aspect of food photo composition is positioning the main subject. Most beginners simply place the subject in the center of the frame and shoot. Unfortunately, the results often look more like a random snapshot than a planned food photo. Before you shoot, decide what is the most important element of your subject and where it needs to be placed to maximize the effect of the shot. Once you have made this decision, you can set up the rest of the composition around your “star.” Here’s four tips on how to position food photography subjects.
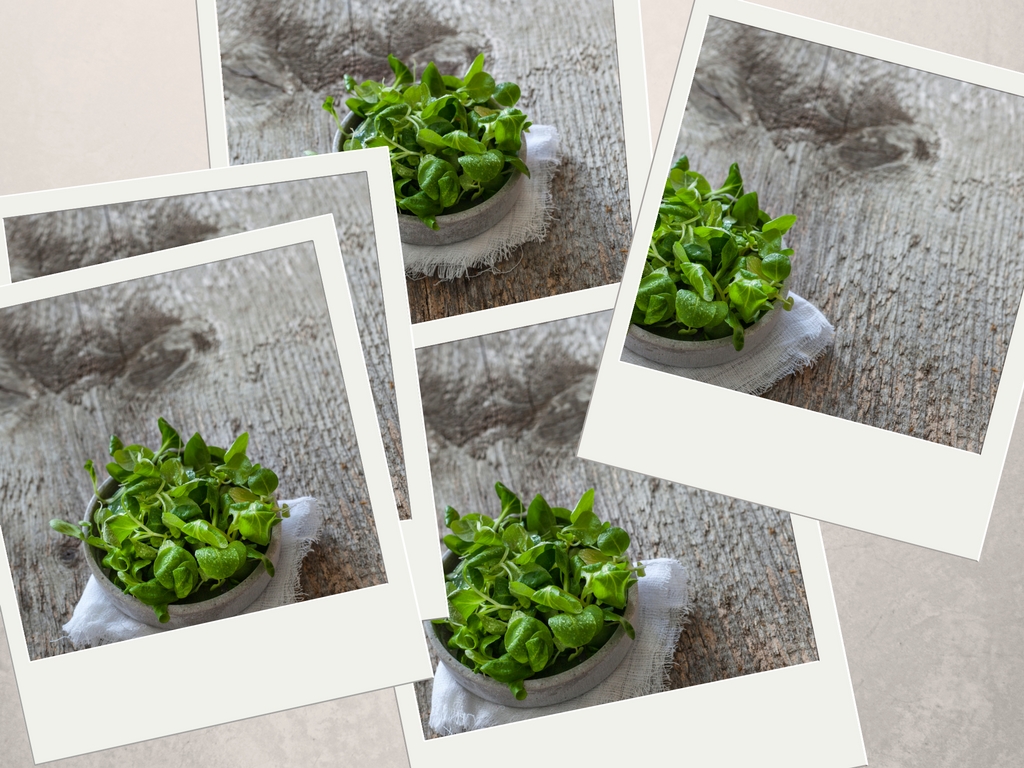
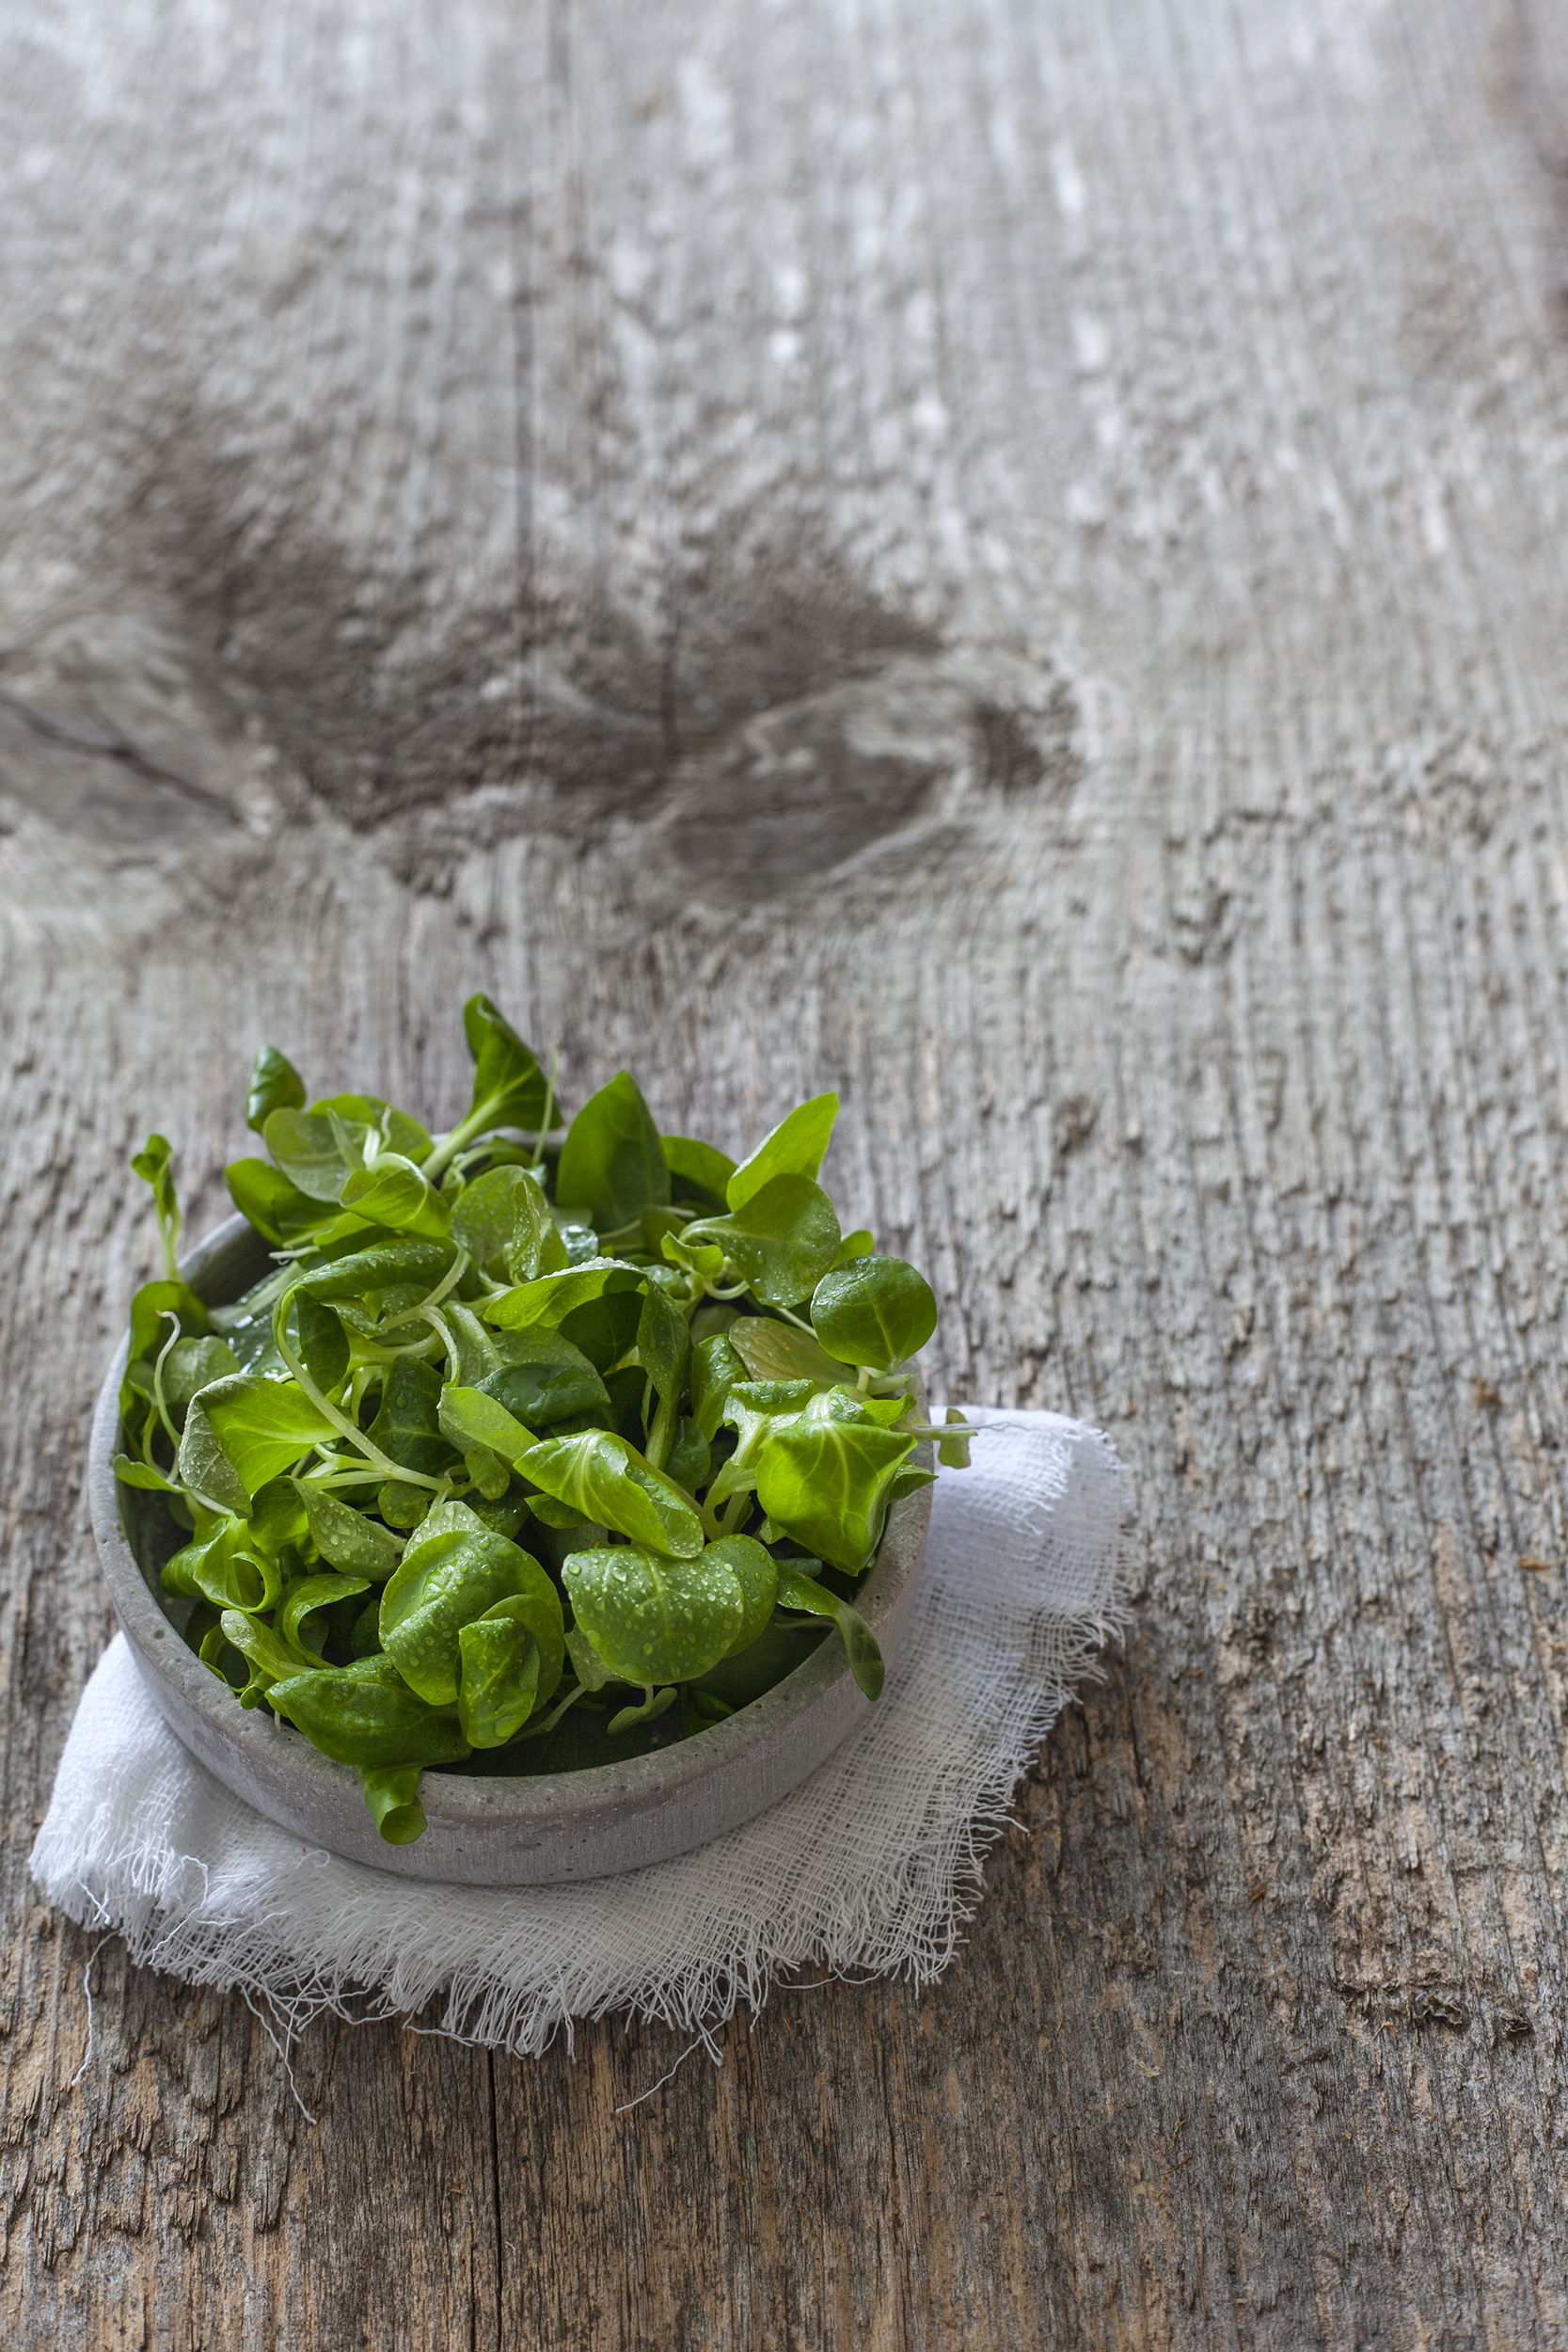
1. In the Center
Simply placing the subject in the center of the frame often gives a photo a spontaneous, unplanned look. To make your composition more interesting, try leaving your subject on the central vertical axis but move it slightly up or down. This results in a photo in which the subject is still basically central, but there is an added design element. The further you move your subject along the central axis, the more exciting the resulting image will be. Be brave and go for a big shift!
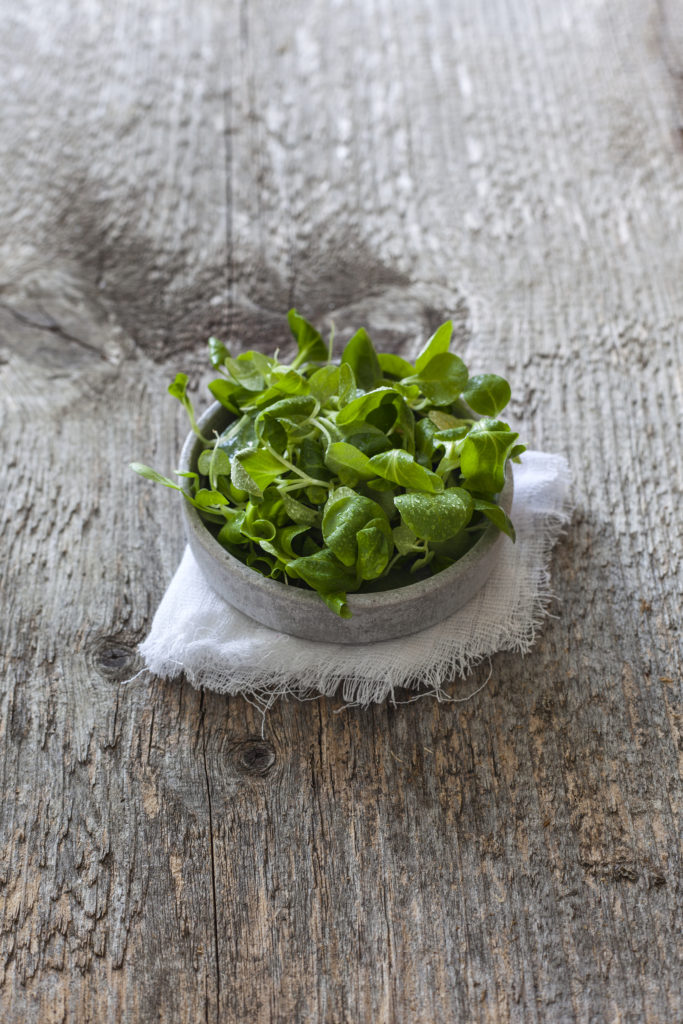
The subject is positioned in the center of the frame, producing a calm, balanced image.
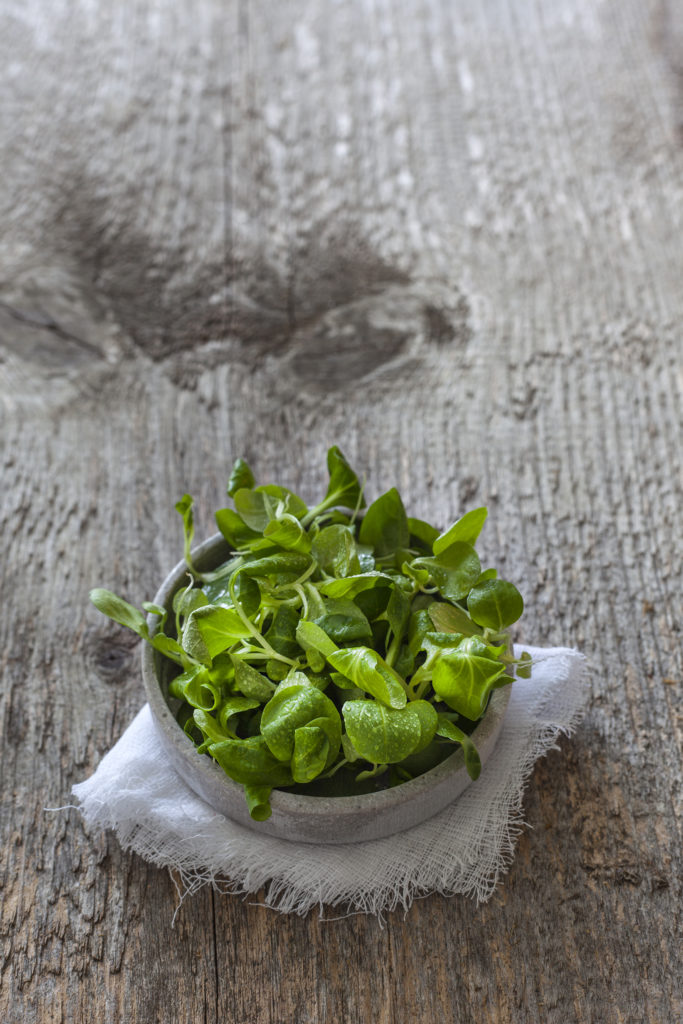
Shifting the subject up or down along the central axis adds vitality and creates tension.
A great way to emphasize the subject in this type of centralized composition is to arrange the other props symmetrically on either side of an imagined central line. Slight asymmetry—produced, for example, by positioning a fork on the left and a knife on the right—adds vitality to a shot without spoiling the overall feeling of symmetry.
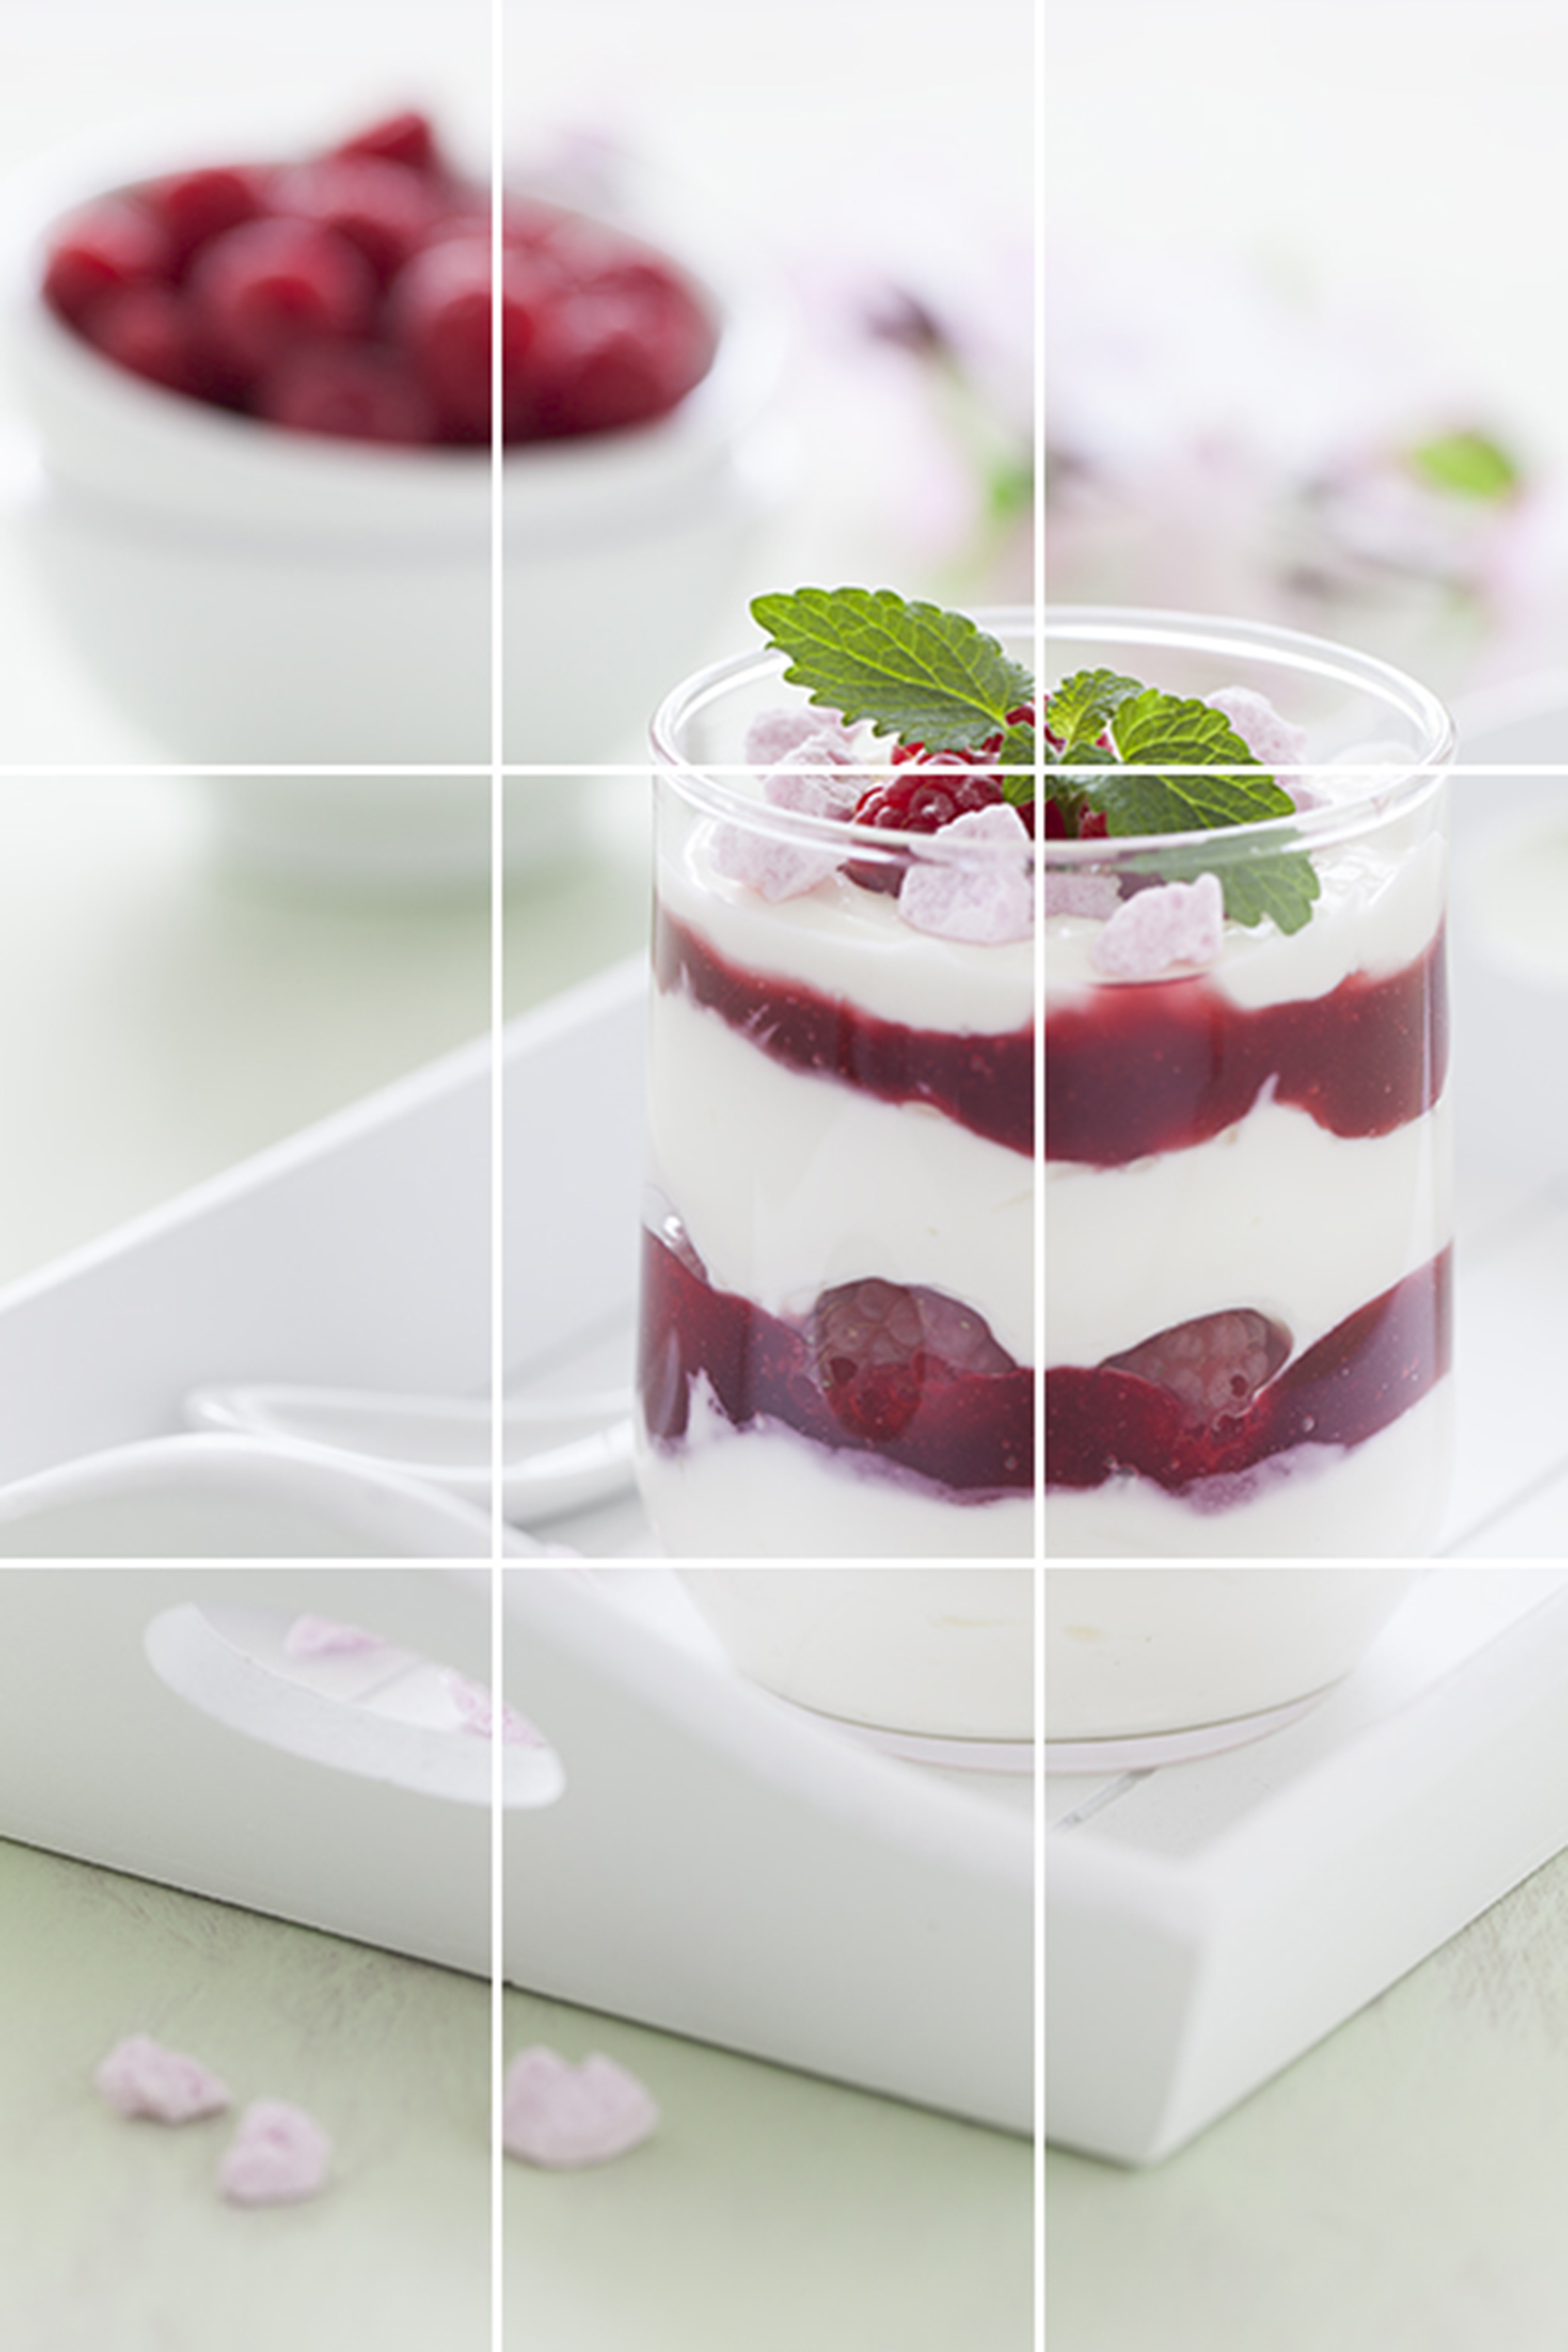
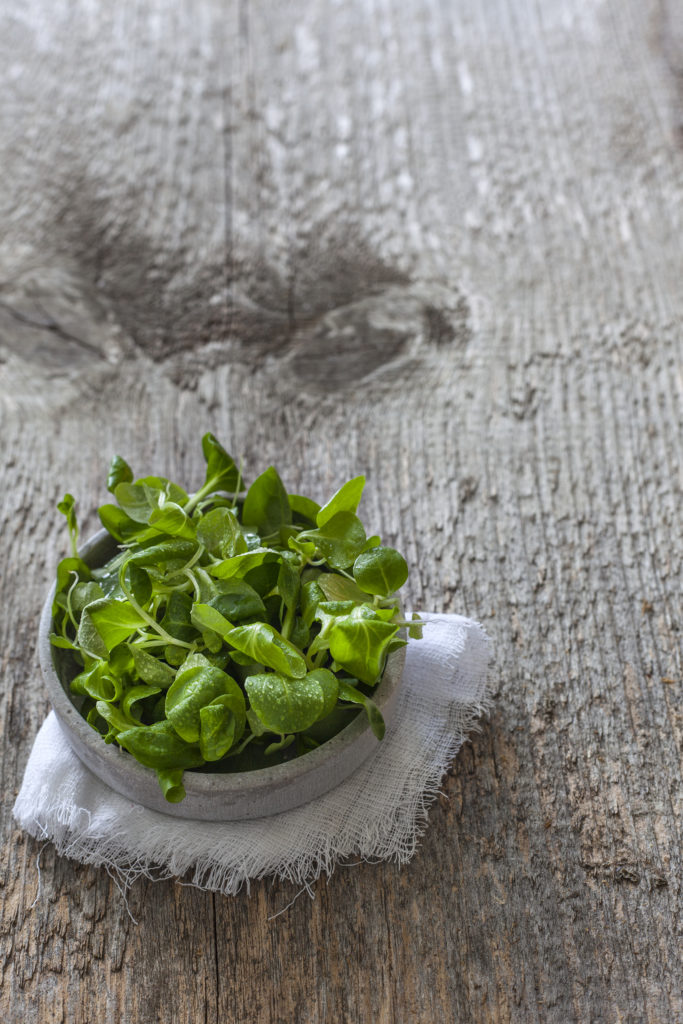
2. The Rule of Thirds and the Golden Ratio
If you find a central subject unattractive or simply dull, move it. The difficult part is deciding where to place it instead. The “rule of thirds” and the “golden ratio” are two easy-to-apply rules of thumb. The golden ratio is considered by many to be the ultimate compositional guideline, and most cameras offer a thirds grid that you can opt to display in the viewfinder or on the monitor. The grid divides the frame into nine equally sized rectangles using horizontal and vertical lines. All you have to do is position the subject (or its brightest or sharpest detail) on one of the intersections formed by these lines. The intersection formed by the golden ratio is in a similar position but is slightly closer to the center of the frame.

In this photo of a raspberry trifle, I positioned the dessert on the right-hand vertical line with the mint leaf placed at the top-right intersection.
Positioning the subject according to the rule of thirds or the golden ratio produces a balanced image that radiates calm without appearing dull. Such a composition is easy on the eye and we are instinctively drawn to subjects placed this way. If you are unsure how to approach a particular composition, applying one of these rules will usually produce good results, or at least give you breathing space to concentrate on designing the rest of the shot.
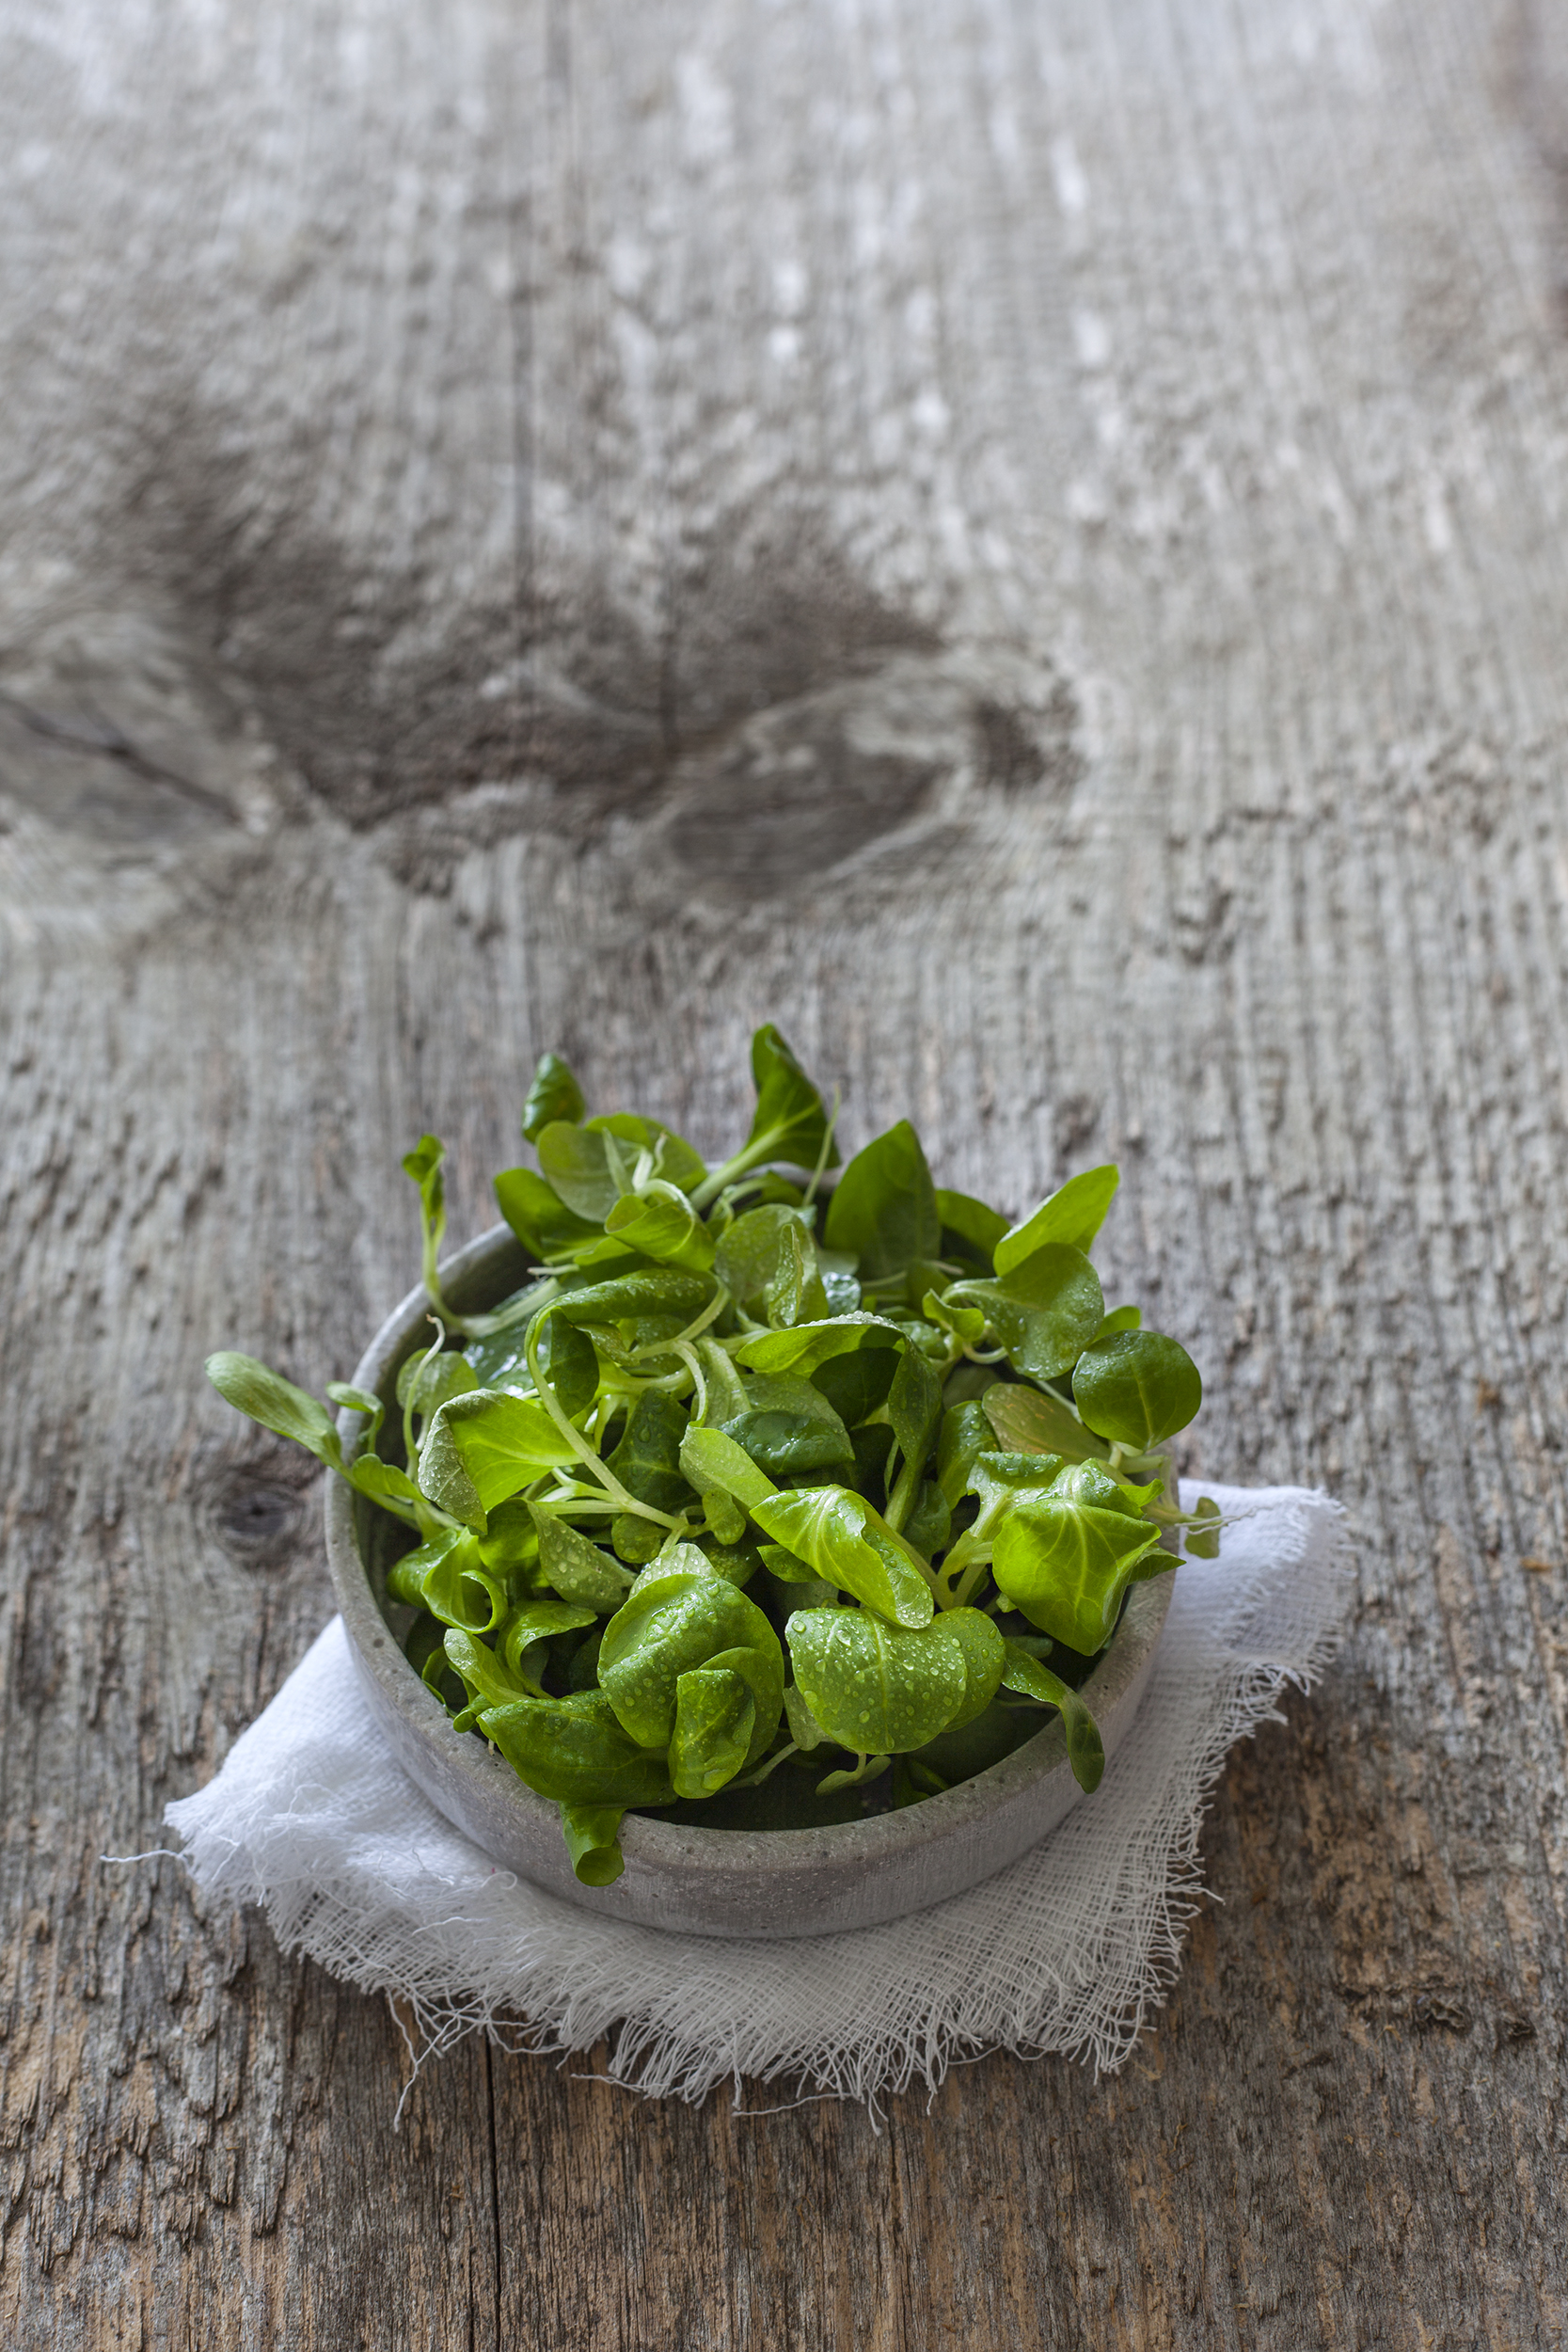
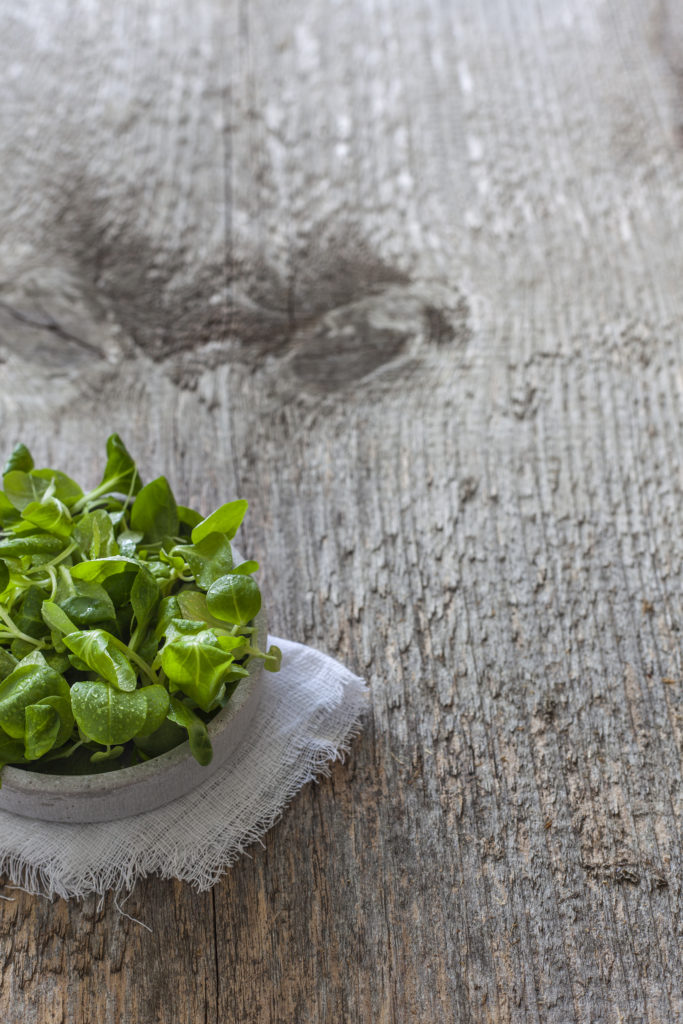
3. The Edge of the Frame
If you like your photos to be lively and vibrant, simply forget the rules and place your subject close to the edge of the frame. The further the subject is from the center, the more eye-catching the image will be. The edge you choose will depend on the way your shot is set up, but you can always try out multiple variations to be sure you get the best results. Shifting the subject toward the top of the frame creates an impression of lightness, whereas moving it toward the bottom gives it a heavier feel.
Applying this approach to small subjects creates so-called negative space in the rest of the frame, which provides a counterpoint to the subject. In such cases, the subject needs to be especially well defined (by way of brightness, color, or sharpness) to compete successfully for the viewer’s attention.
Shifting the subject creates negative space.
4. Halfway Out of the Frame
If you are feeling really brave, try shifting your subject so that it is no longer completely visible within the frame. This type of effect often occurs automatically in closeup shots because the subject simply doesn’t fit in the frame, but using this technique deliberately at greater camera-to-subject distances produces quite striking images.
Some people really like these kinds of compositions, while others find them confusing or even irritating. Whatever reaction you provoke, you have engaged the viewer’s attention, which isn’t always easy in today’s image-driven world.
Paradoxically, moving the subject halfway out of the frame commands even more attention.
Want to learn more about food photography? Check out Food Photography: A Beginner’s Guide to Creating Appetizing Images by Corinna Gissemann today!
Plus, download our free ebook, Rocky Nook’s Guide to Food Photography for Instagrammers!