How to Use Photoshop’s Quick Mask January 6, 2022 – Posted in: Photography
The following is an excerpt from The Photoshop Layers and Selections Workshop by Glyn Dewis
Something I use A LOT when making and refining selections is Quick Mask. It’s a fantastic visual way to see exactly what you are and are not selecting. It is also incredibly easy to use, as it just means using a black or a white brush, whereby white is what you want to select and black is what you don’t want to select. Let’s use an example to see what I mean.
Open up the spitfire.jpg image, which I made using an Airfix model. Let’s first make a selection of the lower aircraft with the Object Selection Tool by clicking and dragging a boundary around it (Figure 4.29).
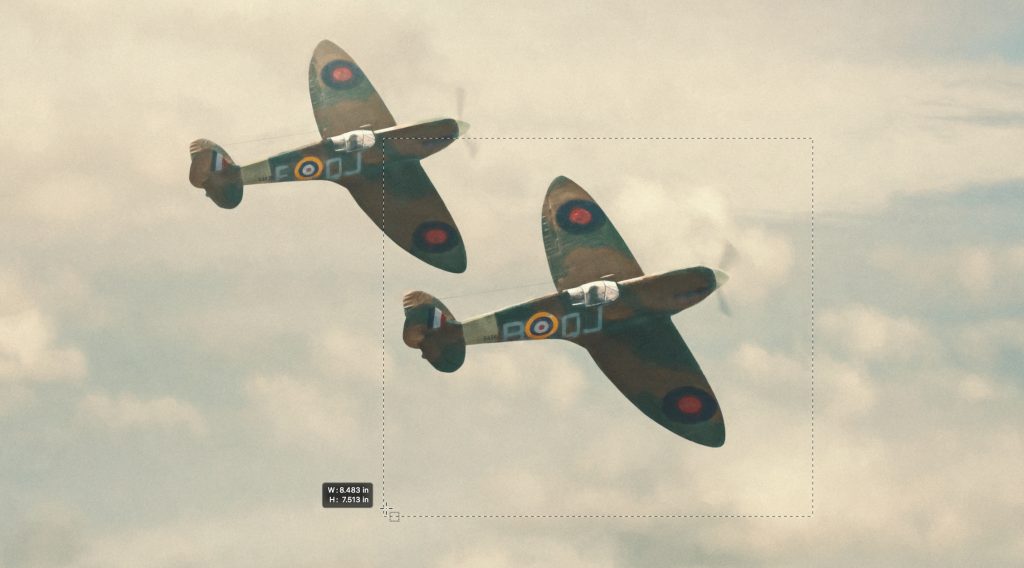
Figure 4.29
It doesn’t matter that the boundary overlaps onto some of the other aircraft because as I release, Photoshop’s Adobe Sensei analyzes the image and knows that I want that lower aircraft, which is entirely within the selection (Figure 4.30).
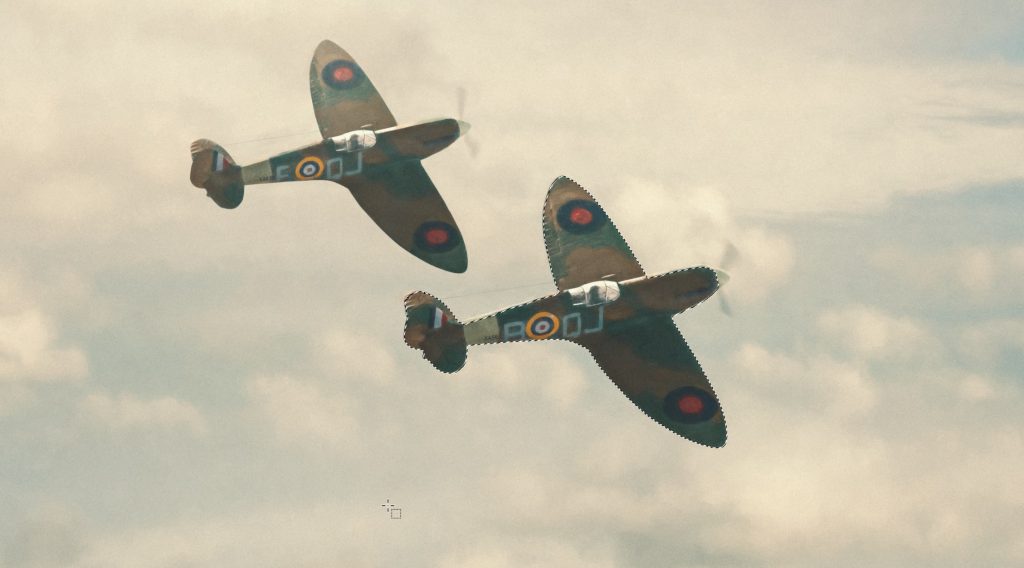
Figure 4.30
Photoshop has done a really good job of making the initial selection, but if we look closer, we can see that there are areas it didn’t quite get along the upper length of the aircraft and the nose cone (Figure 4.31).
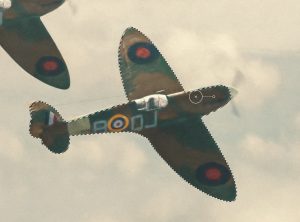
Figure 4.31
Fig. 4.32
This is easy to fix using Quick Mask, which is located at the bottom of the toolbar (Figure 4.32). There are two ways to activate it: either click on the Quick Mask icon or press Q on the keyboard. When you activate Quick Mask, by default, you will see a red overlay appear. The red overlay is visible only on the areas of the image that you DID NOT select (Figure 4.33).
If we zoom in, it’s really easy to see the areas of the Spitfire that weren’t included in the selection because they have the red overlay on top of them. Obviously, we want these areas to be included, so we need to remove the red overlay. Again, areas that are not selected are covered with the red overlay, and areas that are selected are not covered with the red overlay.
Figure 4.33
Fig. 4.34
To do this, choose a simple round brush (B) and press D on the keyboard to set the foreground and background colors to their defaults of black (foreground) and white (background). Then press X to swap the colors over so that the foreground is now white and background is now black (Figure 4.34).

Figure 4.35
Also, as we’re going to be painting over quite a defined area, we don’t want the brush to be soft, so go up to the options bar and increase the Hardness to around 90% (Figure 4.35).
Now when we paint with the white brush over these areas, we remove the red overlay, meaning that this area is now also included as part of the selection (Figure 4.36).
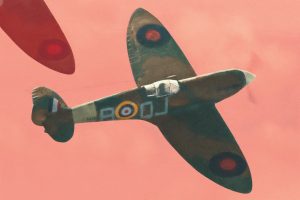
Figure 4.36
When painting with the Quick Mask Tool, if you paint over an area that you didn’t intend to (Figure 4.37), then all you have to do is paint back over that part with the opposite color. So, in this case, press X to swap the foreground and background colors so that you’re painting with black, and then brush over the area you want to exclude from the selection (Figure 4.38).

Figure 4.37

Fig. 4.38
To exit Quick Mask, simply click on the Quick Mask icon in the toolbar or press Q on the keyboard. When you do so, you’ll see the marching ants (Figure 4.39), showing you exactly what you’ve selected. You can see that it now includes the areas we painted over while using Quick Mask. I use this method A LOT because it’s such an easy way to add to or take away parts of a selection.
NOTE: We haven’t selected the propeller just yet, but I’ll show you how we could do that in a little while.
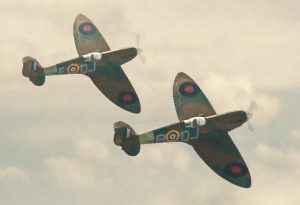
Figure 4.39